Do you throw away your plastic containers after using them? Well after reading this post, you’re going to think twice before you throw out another one!
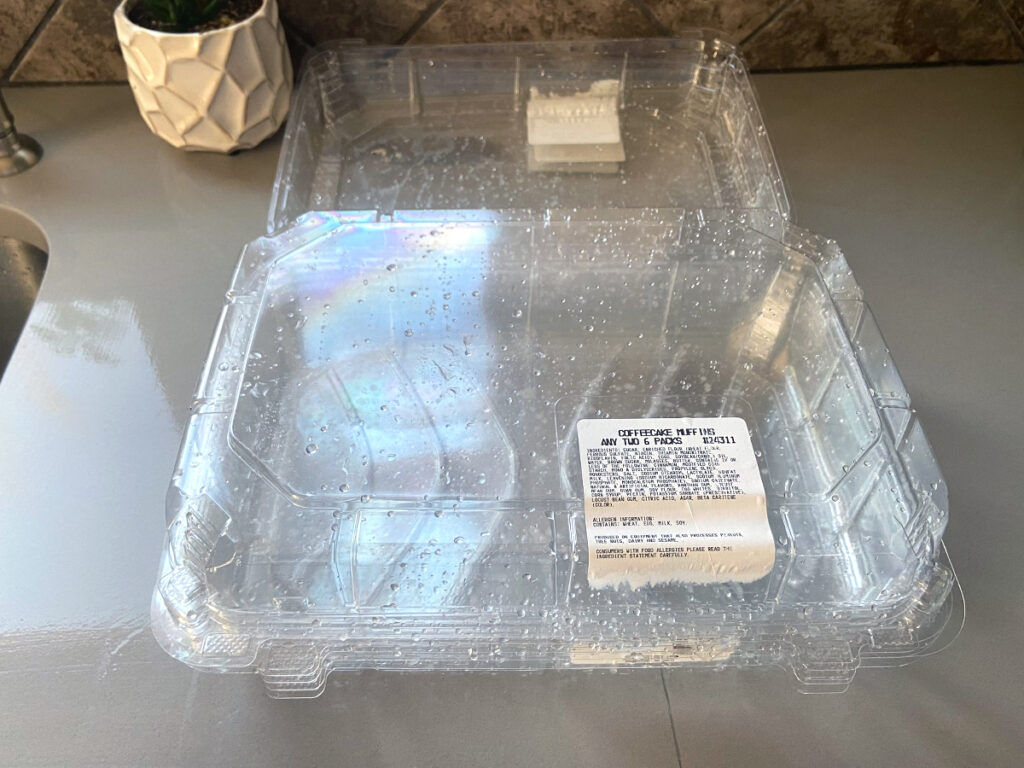
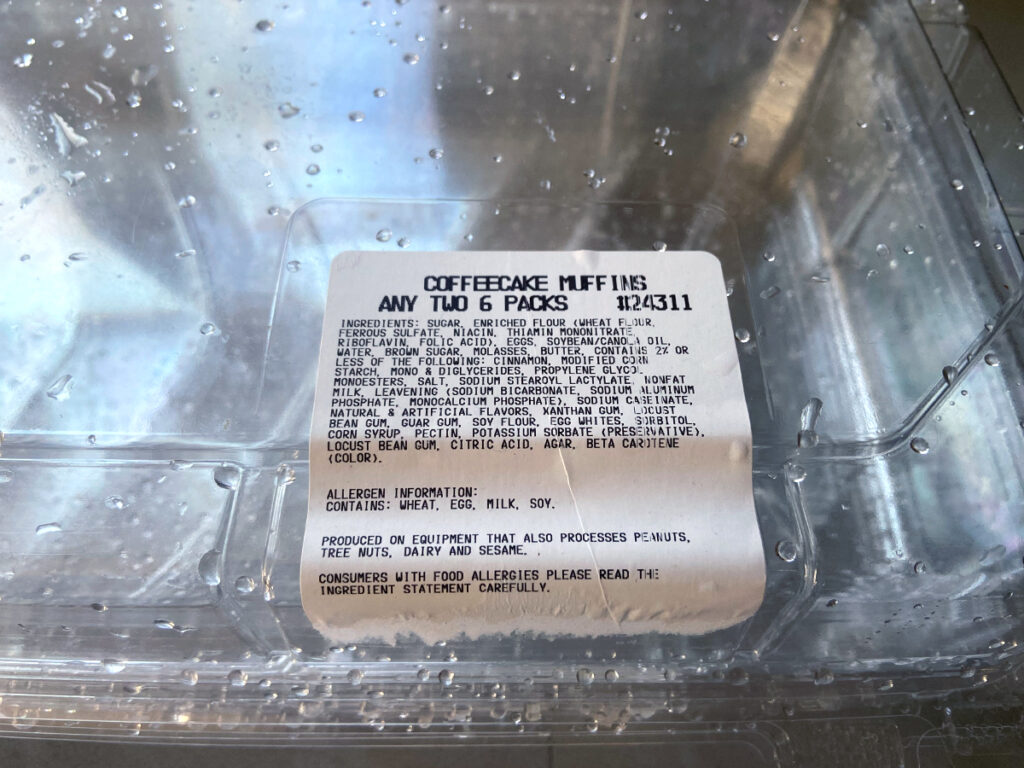
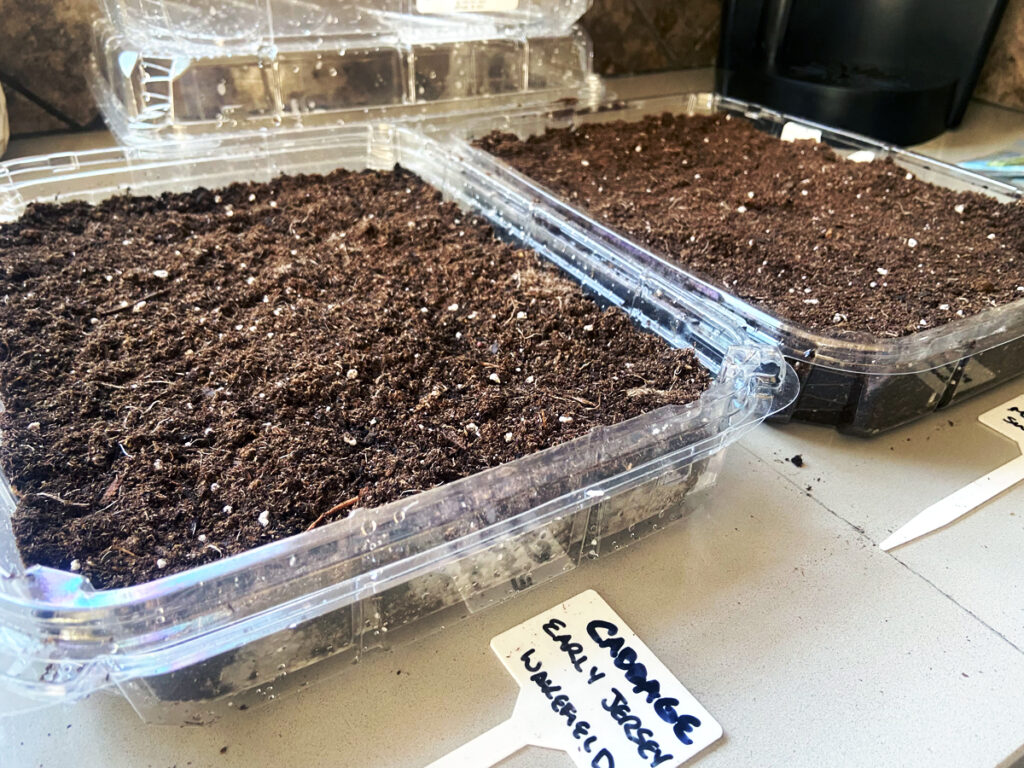
Here I have four muffin containers that I’ve been saving from Costco. A couple holes poked here and there, and they’d make perfect little greenhouses…Let’s do it!
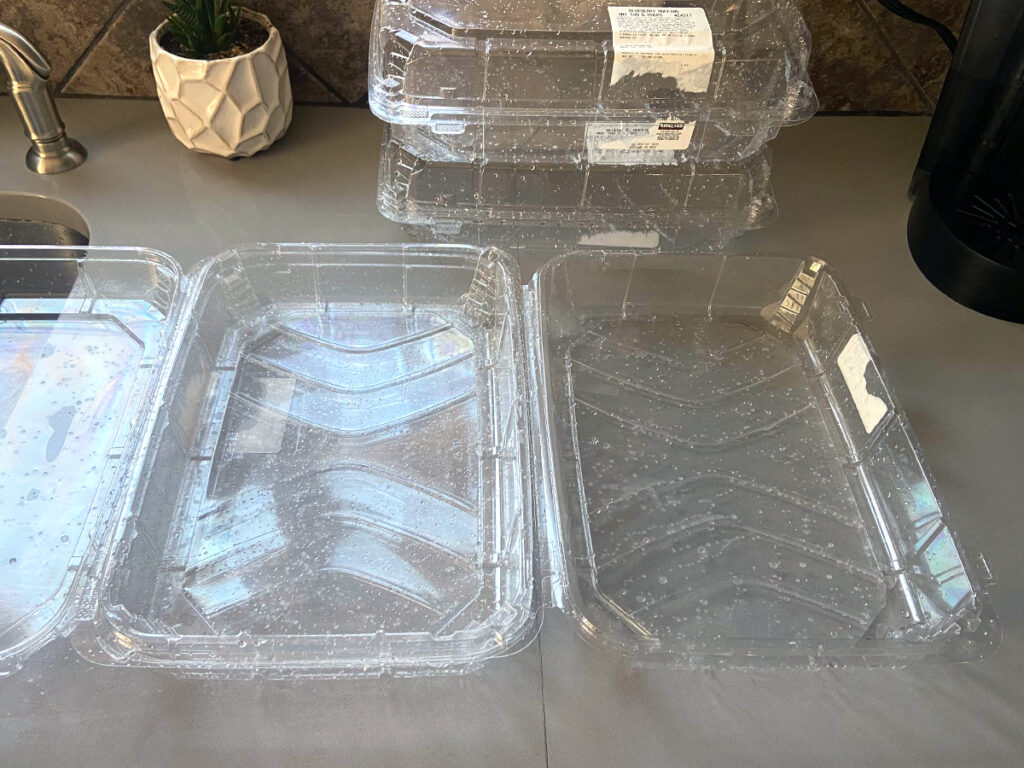
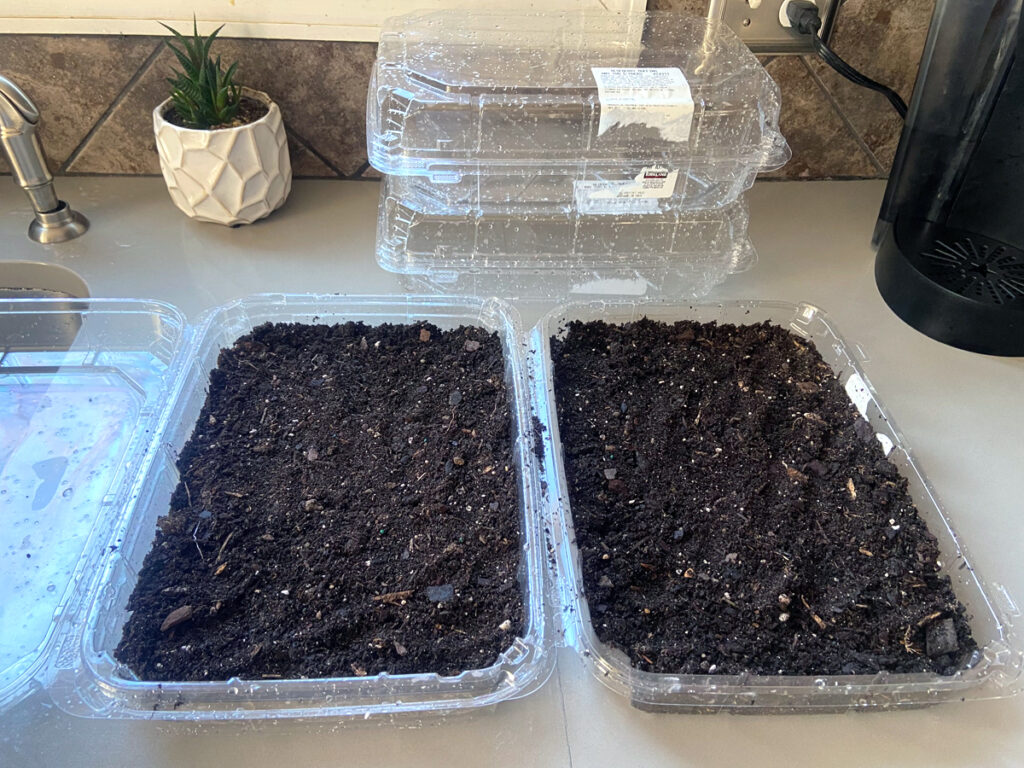
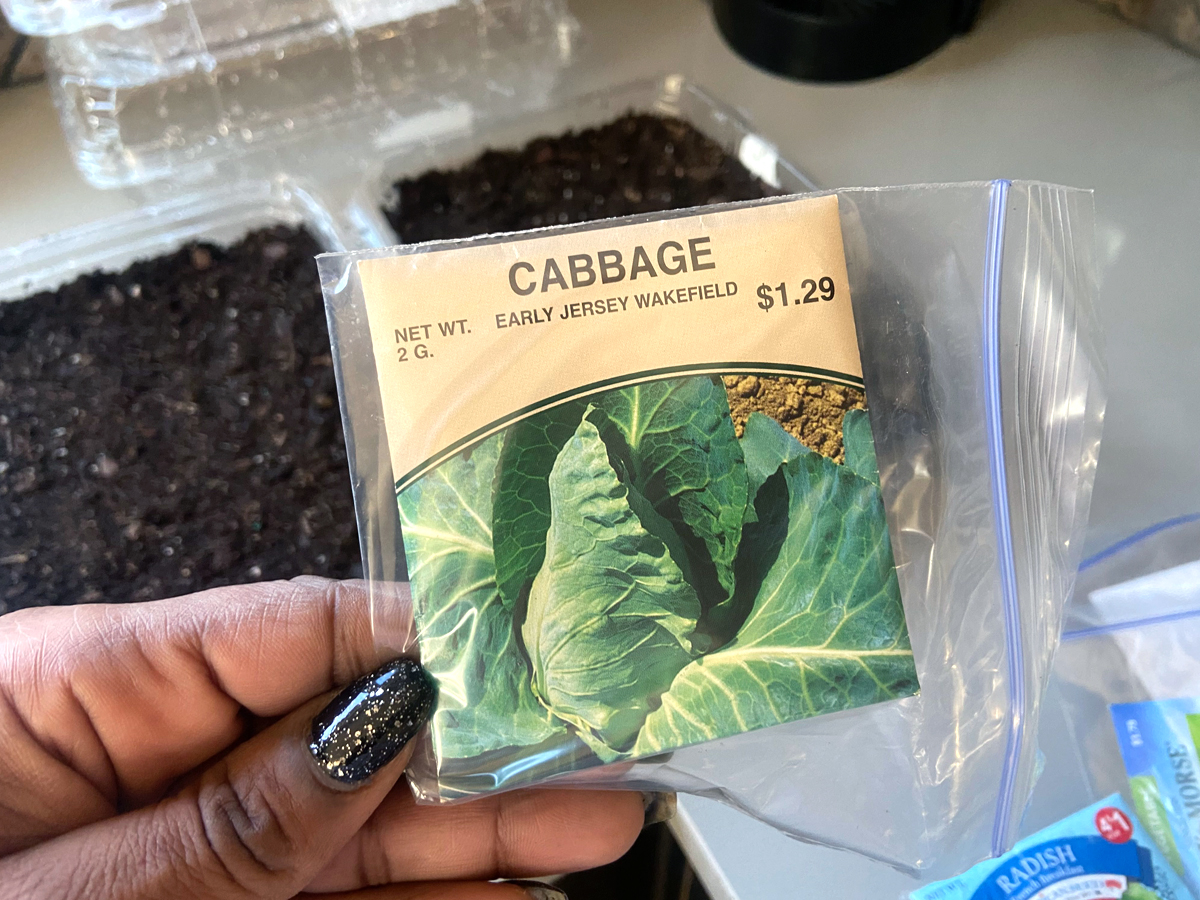
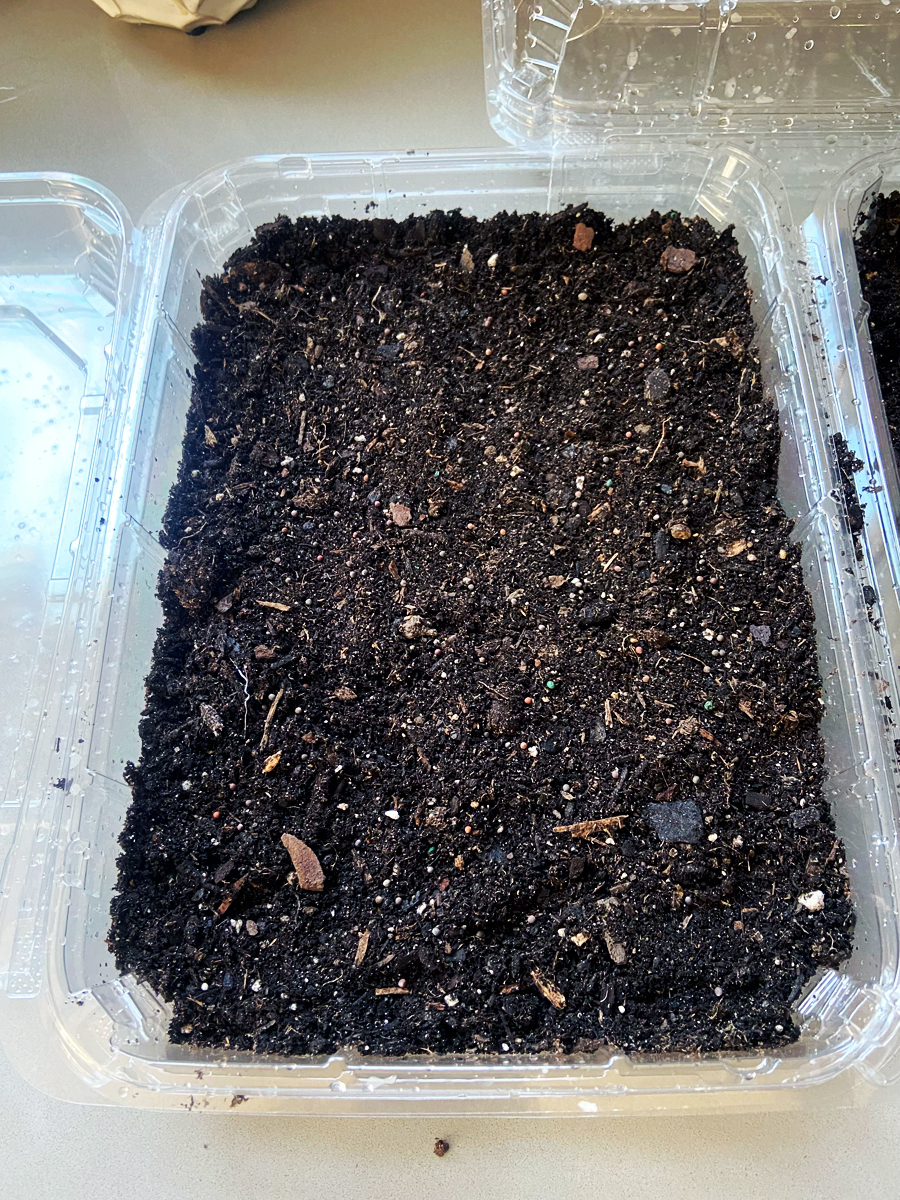
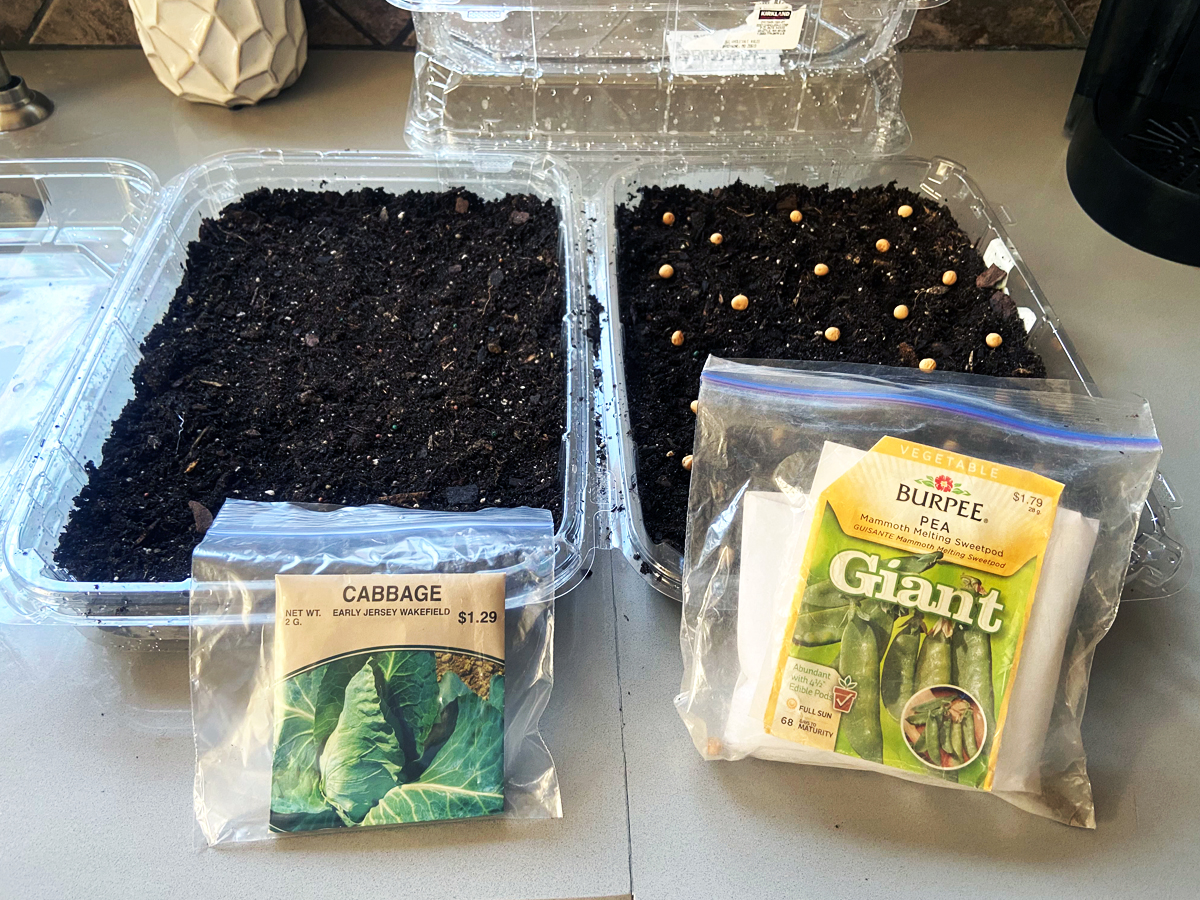
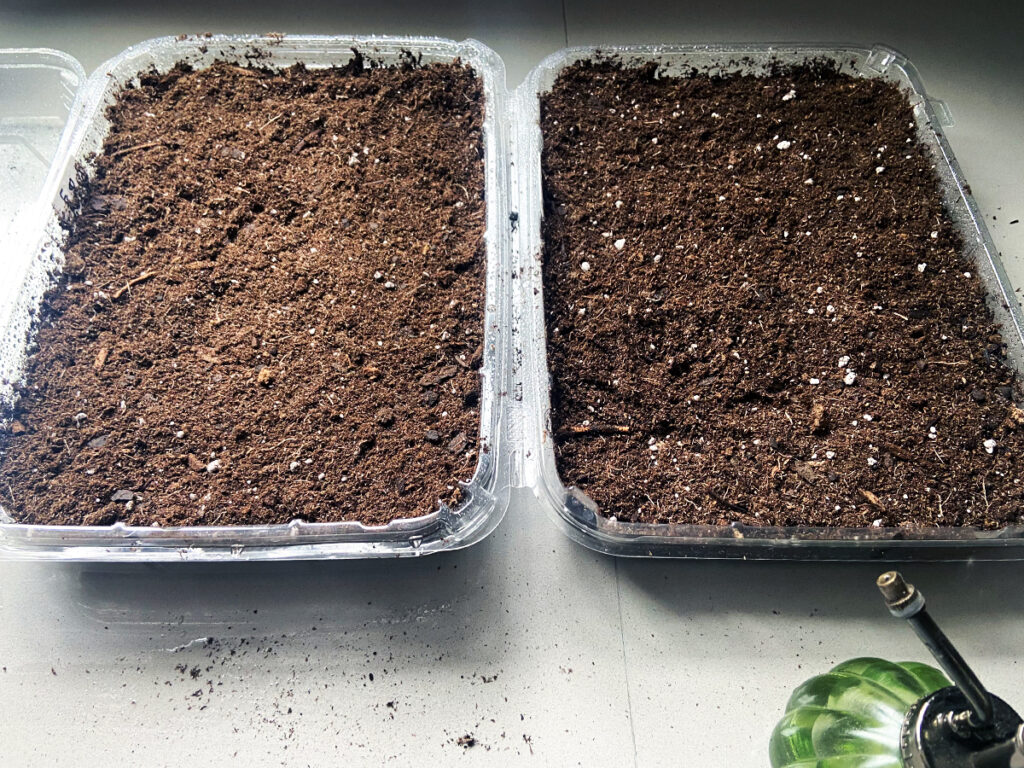
First, I give each one a good wash and remove all the remaining bits of muffin. I don’t want these containers to drain, so I didn’t poke holes in the bottom, I just went straight to adding in the dirt. This is clean, disease-free soil that I saved from last summer. I simply re-moistened it, added a scoop of Perlite and just fluffed it up again. Next, I decided which seeds I was going to start with for the 2023 grow season. I live in Southern MD, so I’m planting and keeping the weather for zone 7B in mind. If you don’t know which zone you’re in, then visit the USDA’s Plant Hardiness Zone Map and quickly find out using your zip code.
Timing plays a great part in gardening and it’s important to know which plant to start, at the right time for your specific area. If you live in Maryland and you’re not sure which plants to start early in the season, check out this video I made on 8 Hardy Veggies to Plant in March. I also have a video on 8 Semi Hardy Veggies to Plant in March and Early April. I use these two videos as guides when determining which plants I want to start before the weather warms up for the summer. If you find them useful as well, please don’t forget to give them a thumbs up. Feel free to also leave me a comment and let me know which plants you started.
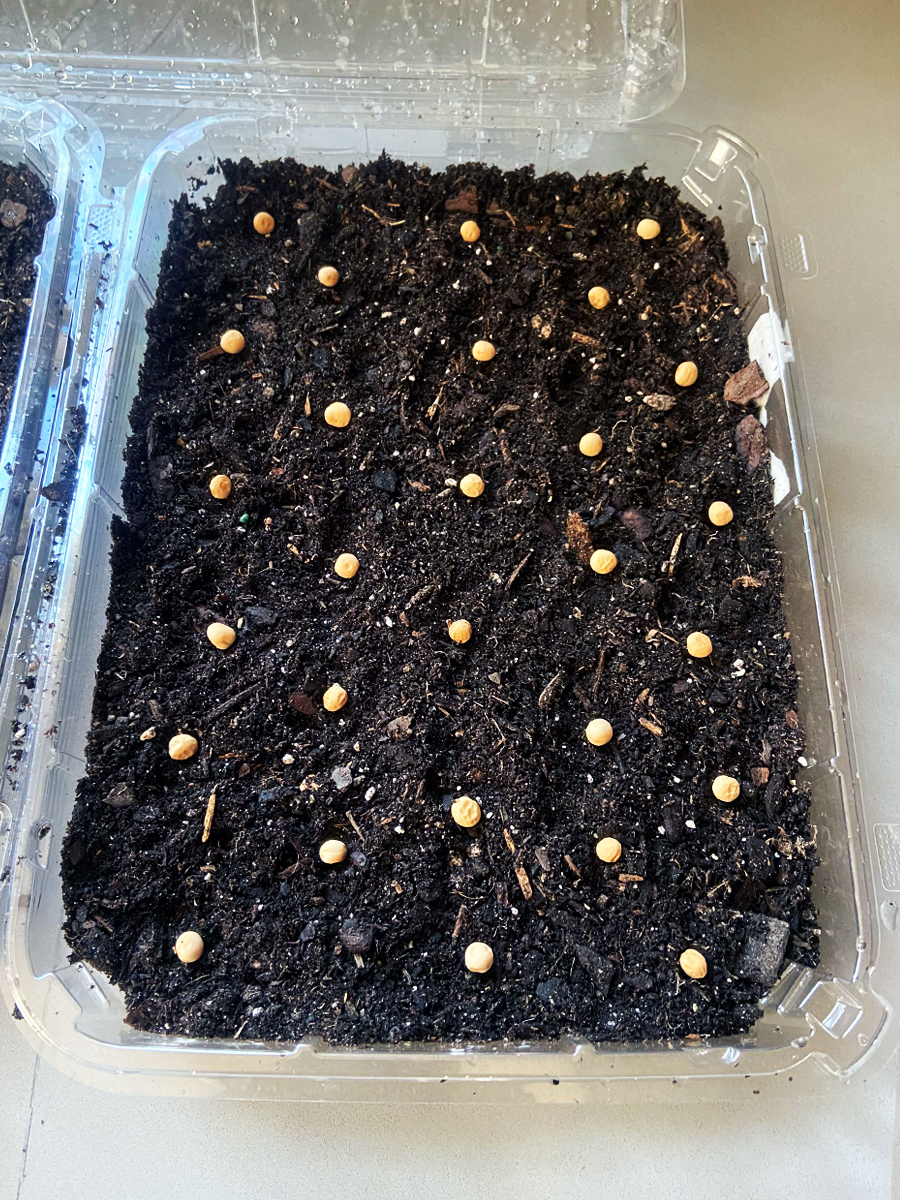
Now that we know what we’re going to plant, let’s move on to putting down the seeds. (Whether or not to water, at this point, becomes a matter of preference.) Some people prefer to water the soil before they put down the seeds. Some prefer to put down the seeds and then water them before the cover it with soil. There are also folks who wait until they’ve put down the seeds and covered them with dirt before adding any water. I’ve tried all three ways and they all work great; seeds will successfully germinate using either method. The main thing to remember when it comes to germination is to not make the soil too moist and of course, never let it get too dry. Especially during the first 3-4 days. So when you add the moisture is not really as critical and how much water remains in the container overall.
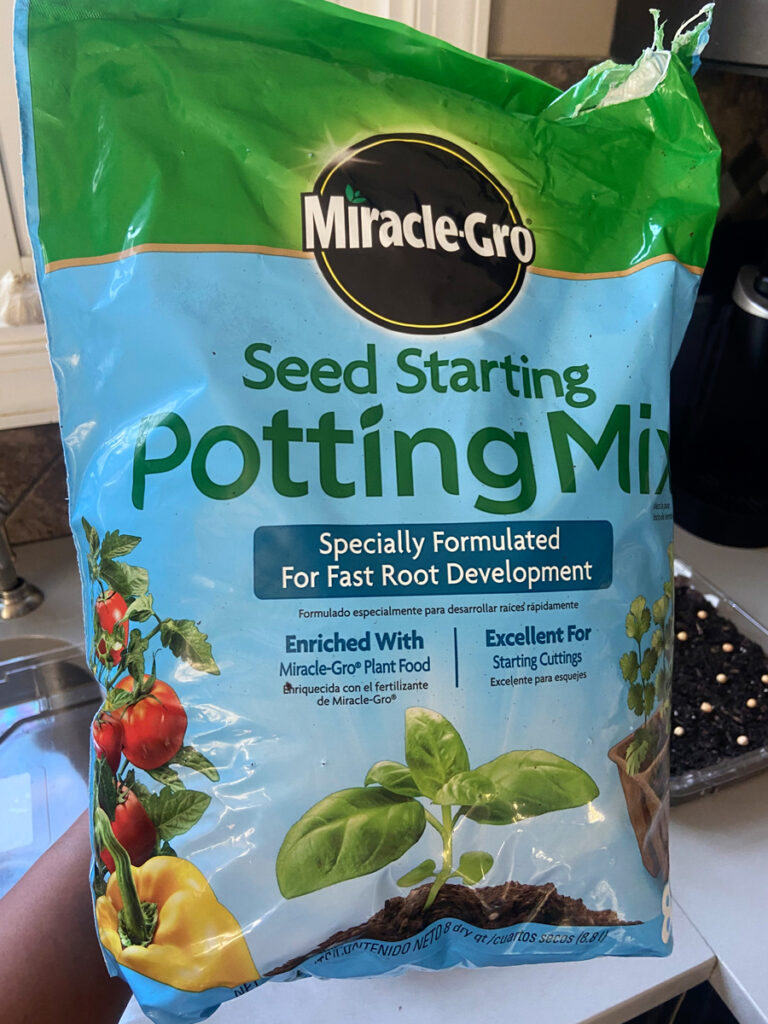
The seeds are in place so time to cover them. If these were corms or bulbs, I’d cover them with the same soil that I planted them in. But since these are delicate seeds, I always use a seed starting soil so that the seedlings don’t have to fight through compacted, heavy dirt to make their way to the sunlight. I really like both the Jiffy and the Miracle Gro brands of seed starting soil that I can easily get from my local Lowe’s Home Improvement store. I receive great results using them. In time, I’ll experiment with making my own DIY organic seed starting mixture but, for now, I can work with these just fine.
The general rule is that seeds should be planted at a depth two times the width or diameter of the seed. So yes, sometimes you barely need to cover a seed with dirt most times and honestly, this was were I failed the most when I first started gardening: I would plant the seeds too deep. Small seeds only need about an 1/4 of an inch layer of dirt over them. The tiny seeds only need about and 1/8 of an inch of dirt over them. Some vegetables, like certain lettuces need light more than anything to germinate and don’t need to be covered at all. If you have a low germination rate when you plant seeds, check the depth at which you’re planting each particular seed. Honestly, I think it’s better err on the side of planting too shallow than too deep.
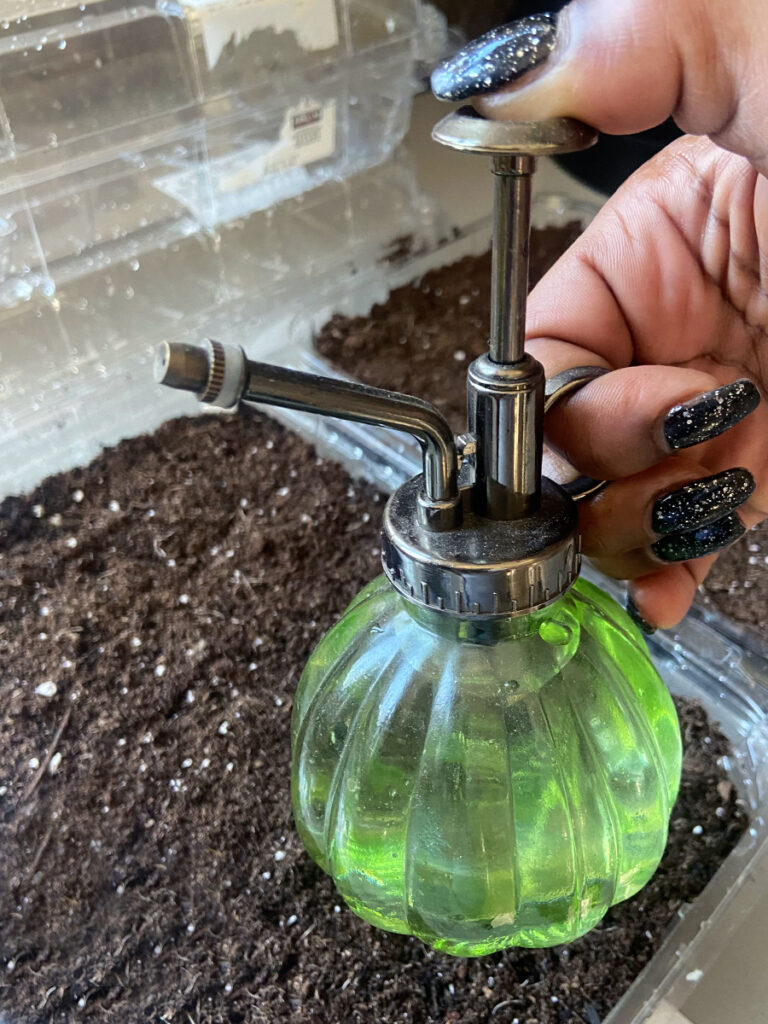
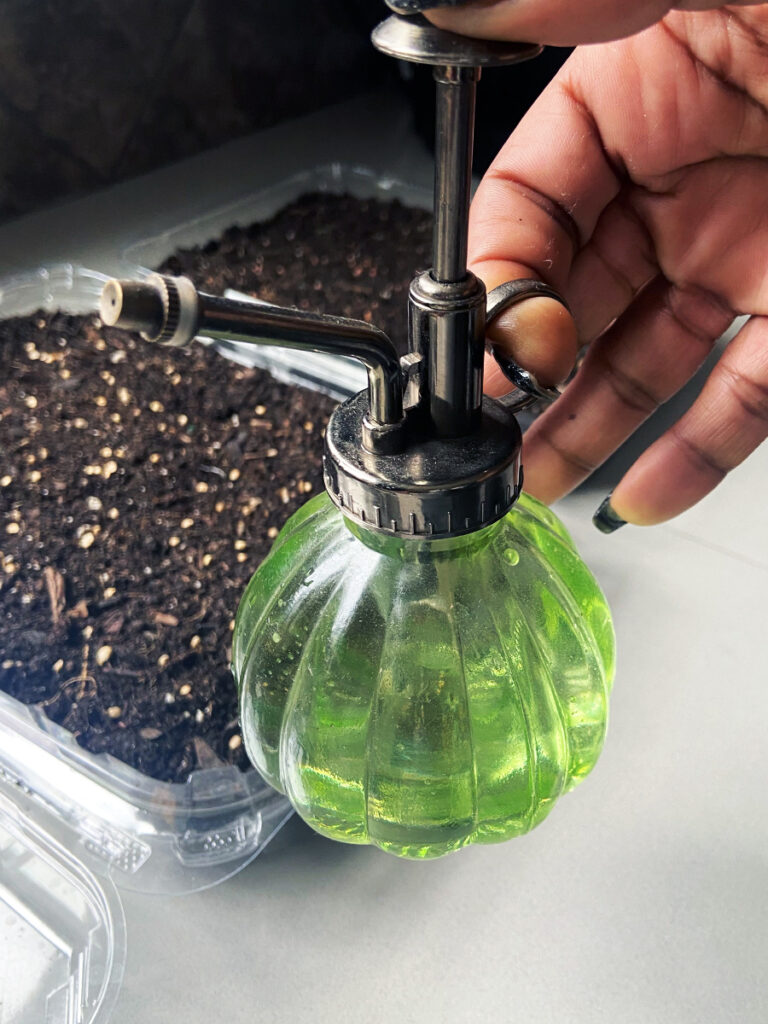
I chose to water after I covered the seeds this time. Isn’t this mini mister the cutest. I’ve had it for a few years now. I absolutely love how convenient it is, but my plants love it even more. My Peace Lilies, Spider Plants and succulents especially, because they love moisture but hate wet feet. I water the soil sparingly and give them frequent “mistings” and that keeps them happy (makes me happy too). You can give your plants a treat and purchase this mister as well. The green one is my favorite, but it’s also available in clear.
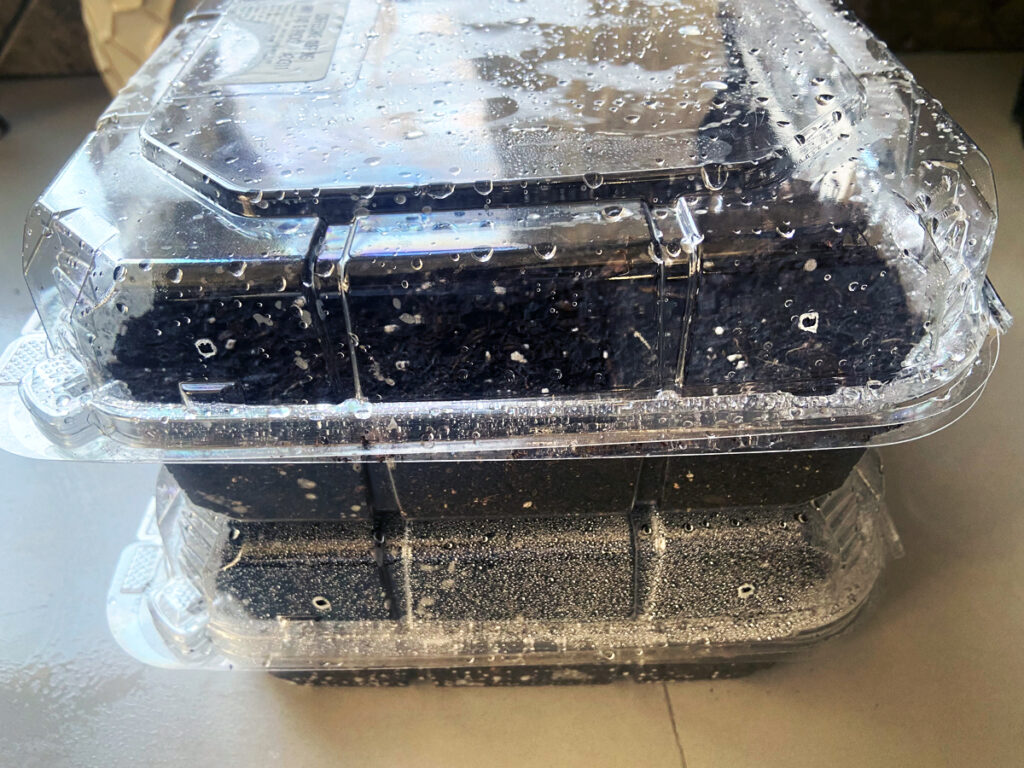
Only thing left to do is to poke a couple holes in the side to let the air vent a little and put them in my grow room for a few days.
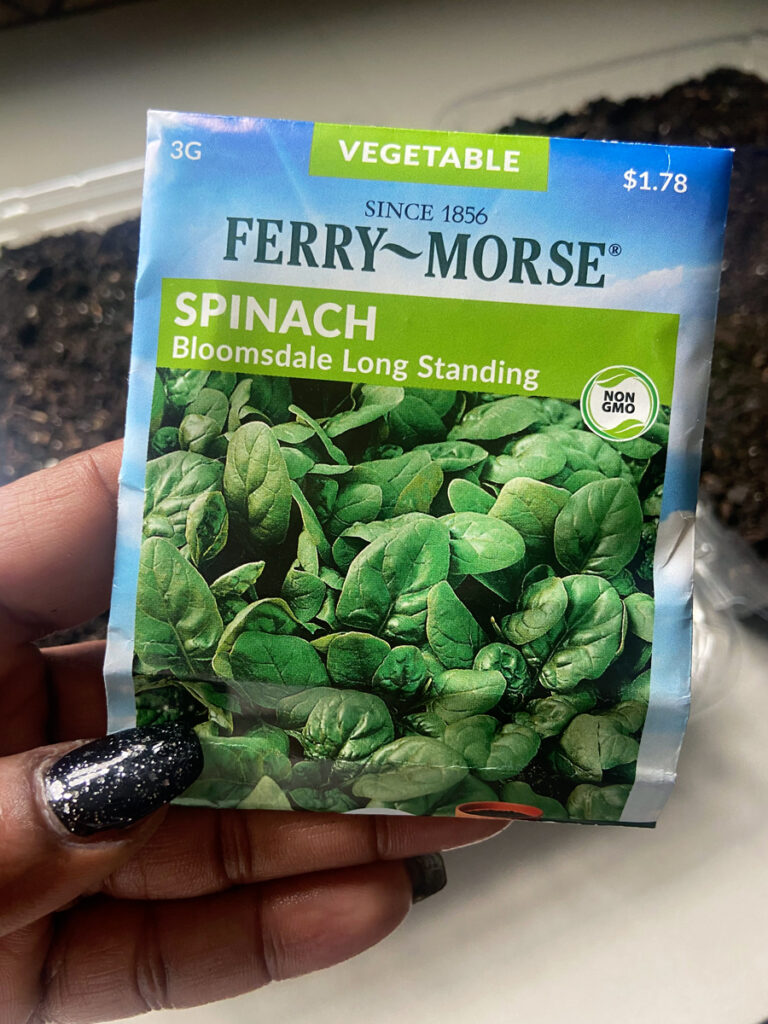
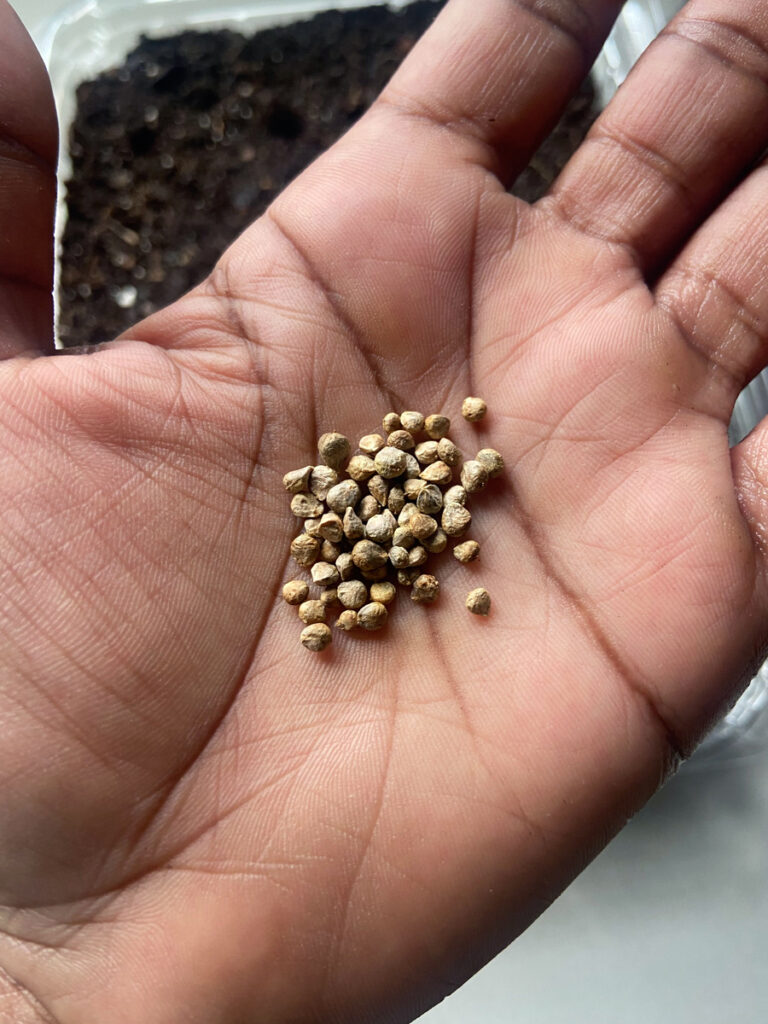
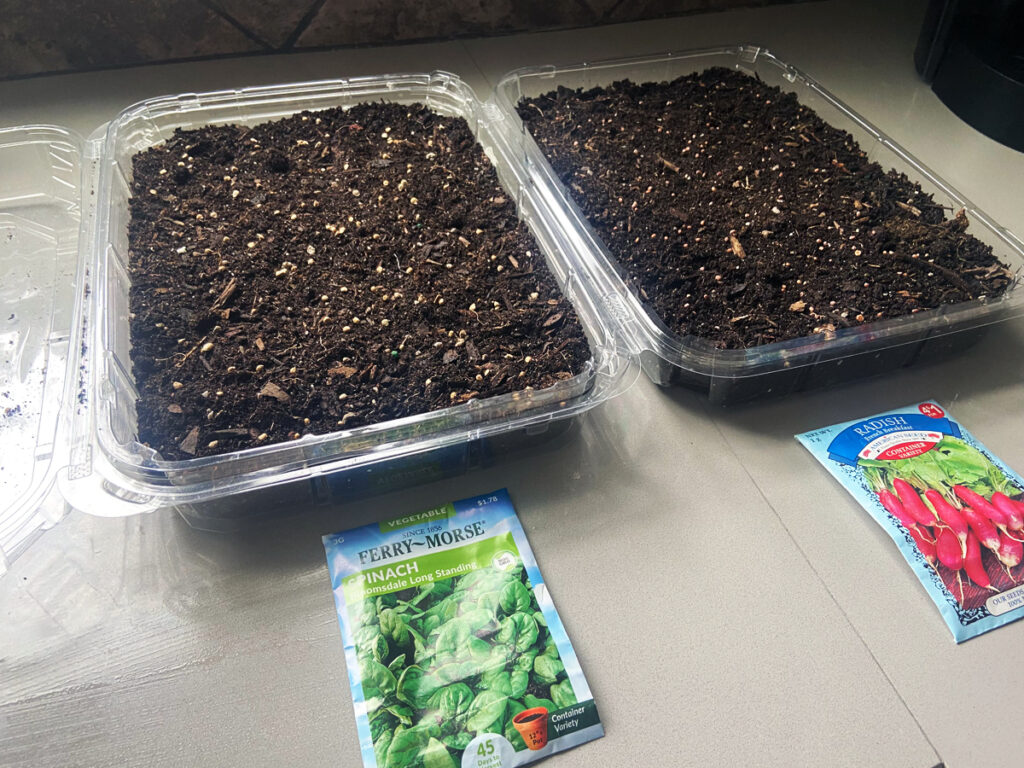
I had a few things to do so I didn’t have time to get the Spinach and Radish started at the same time as the Cabbage and Peas. But thankfully, I was able to get them going a couple days later so, no big deal, they can still grow fairly close together. I promote STRESS-FREE gardening. I don’t worry myself, nor do I go crazy over gardening shenanigans. For me, it’s all about doing what I can do, learning and getting better at it each year. I simply focus on the joy gardening gives me and learn to combat the hurdles I encounter along the way. If, when gardening, you find yourself getting upset or frustrated and it makes you just want to give up, then you’re gardening all wrong. Take a step back, breathe, laugh, think about what you can possibly change and/or do better and start again.
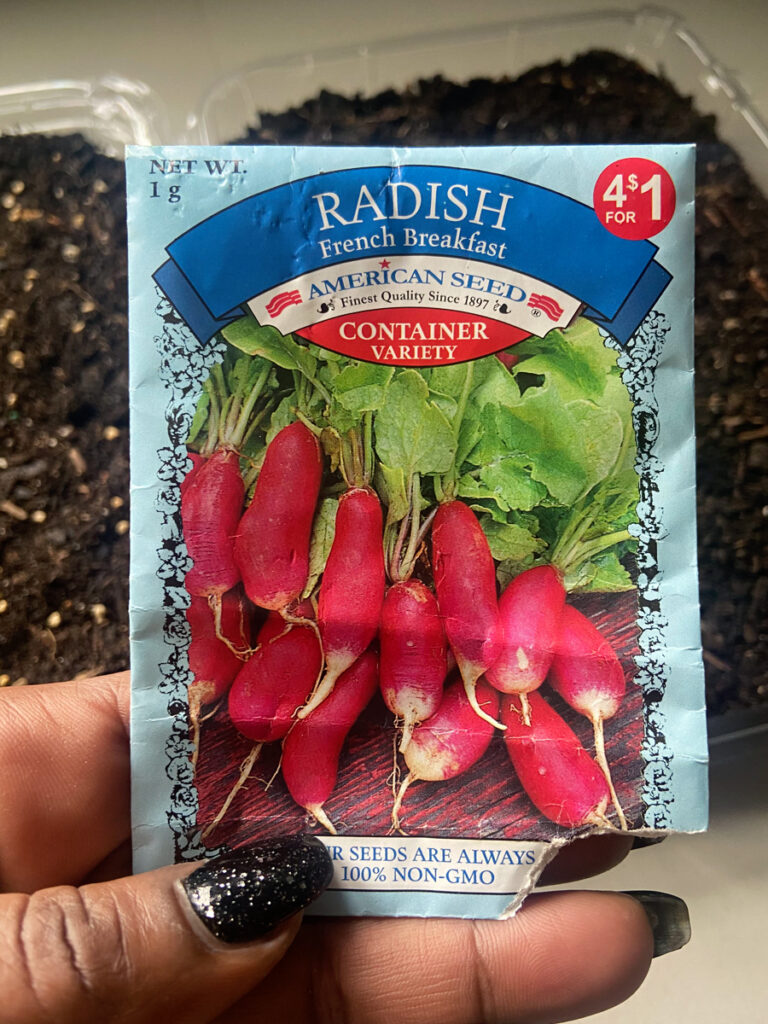
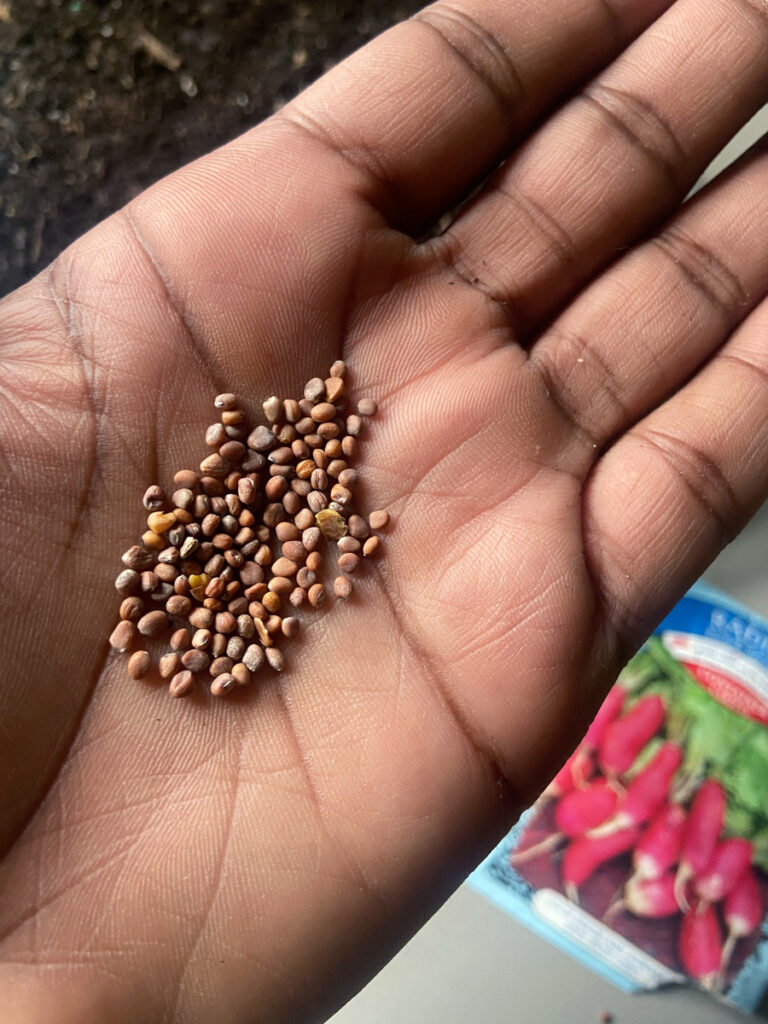
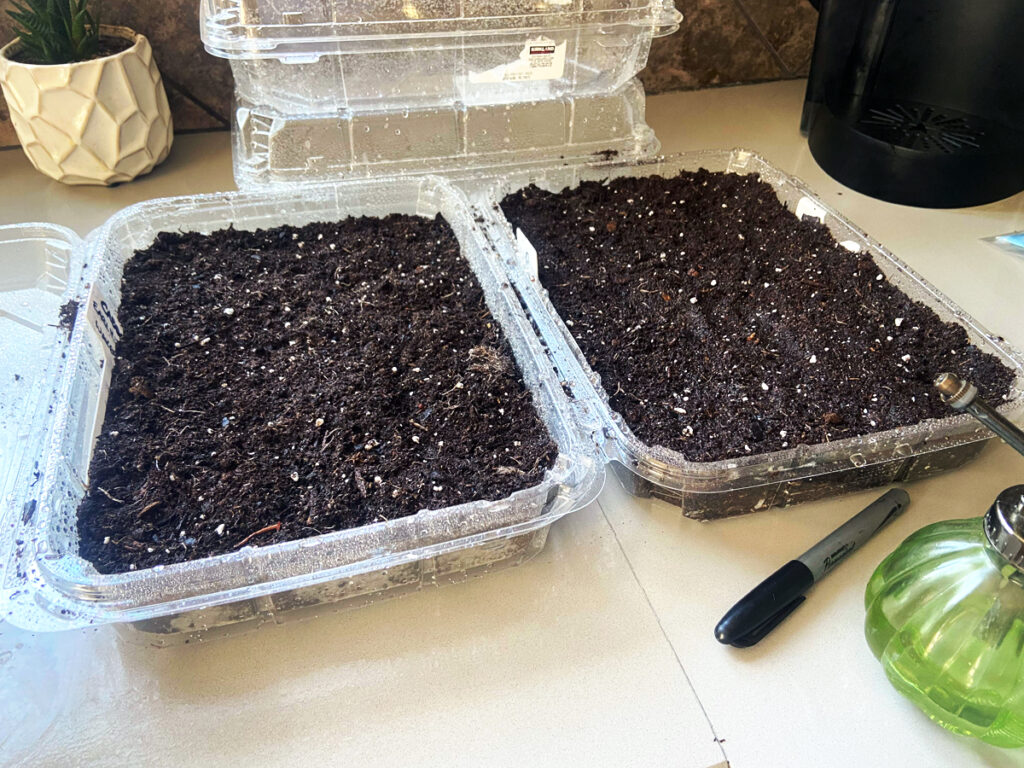
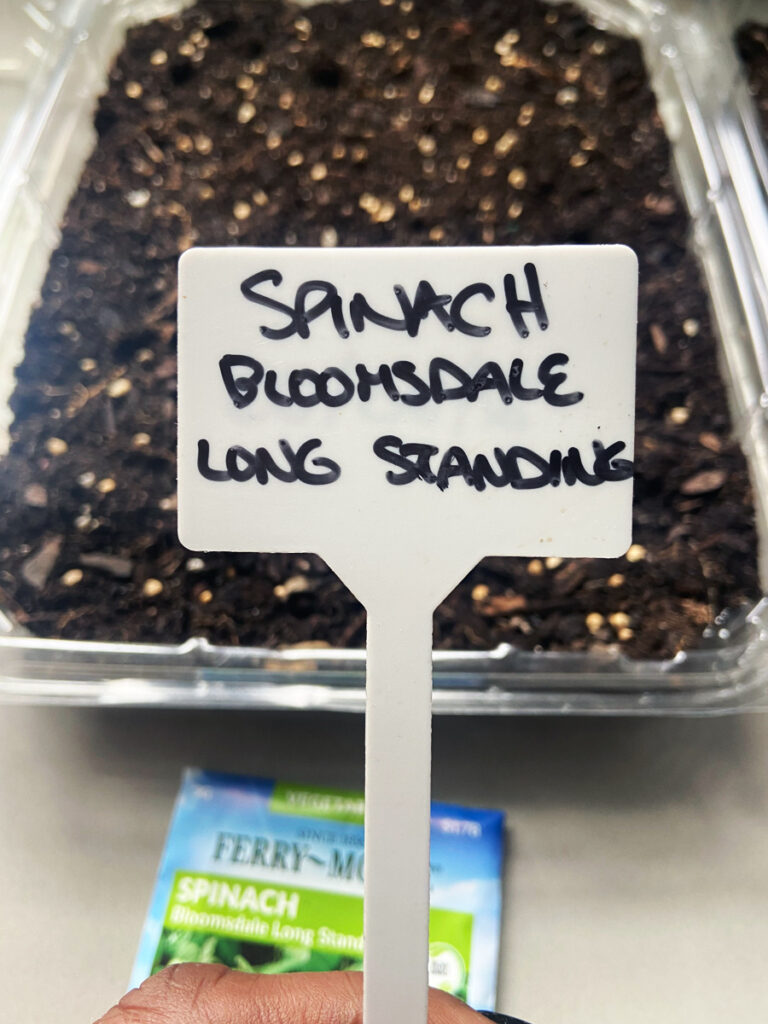
Cool, so now let’s give these Radish and Spinach seeds a start at life and we’re going to do it using the same method we used with the Cabbage and Peas. (1) Prep the soil and get it to the height where you want the seed to sit in the container. (2) Put down your seeds. Don’t forget to label which plant you put in each container. When I first started gardening, labeling the plants weren’t really that important to me. I always figured I’d see what plant it is as it starts to grow. Around mid-summer, I’d always end up with a bunch of “mystery seeds” growing all about the yard. It was fun at first, just waiting around to see what would bloom and what wouldn’t, but as I matured in gardening, I wanted to have more definitive results. I wanted the things that I planted to actually bloom and produce!

Well, if that’s the result that I want, then I’m going to have to start paying specific attention to each type of plant and ensure that it has the proper nutrients and environment that it required. It may seem like a simple step that you can omit but, unless you’re only planting one plant and you can never get it mixed up, always be sure to label everything you plant so you can give it specific attention.

(3) Water the seeds well and (4) cover them loosely with light soil. This time, I watered the seeds before and after I covered them with the seed starting soil.
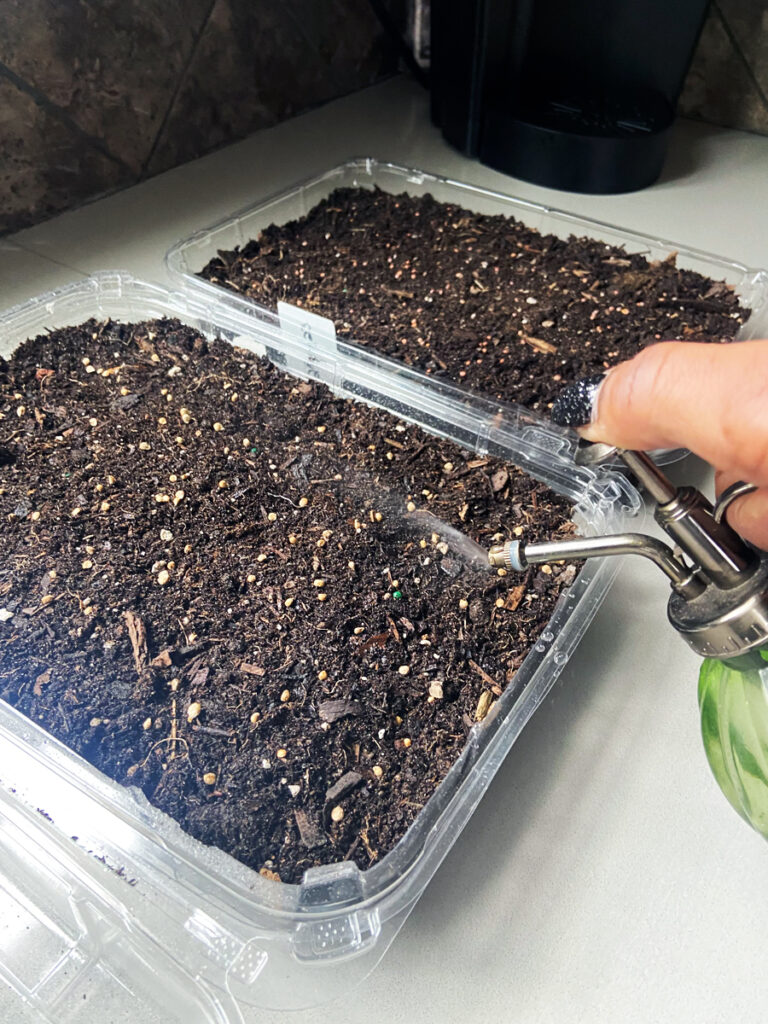
Place the containers in an area with ample sunlight and keep checking on it to make sure that the soil stays moist. Moisture is critical for germination, but you don’t want it to become soggy.
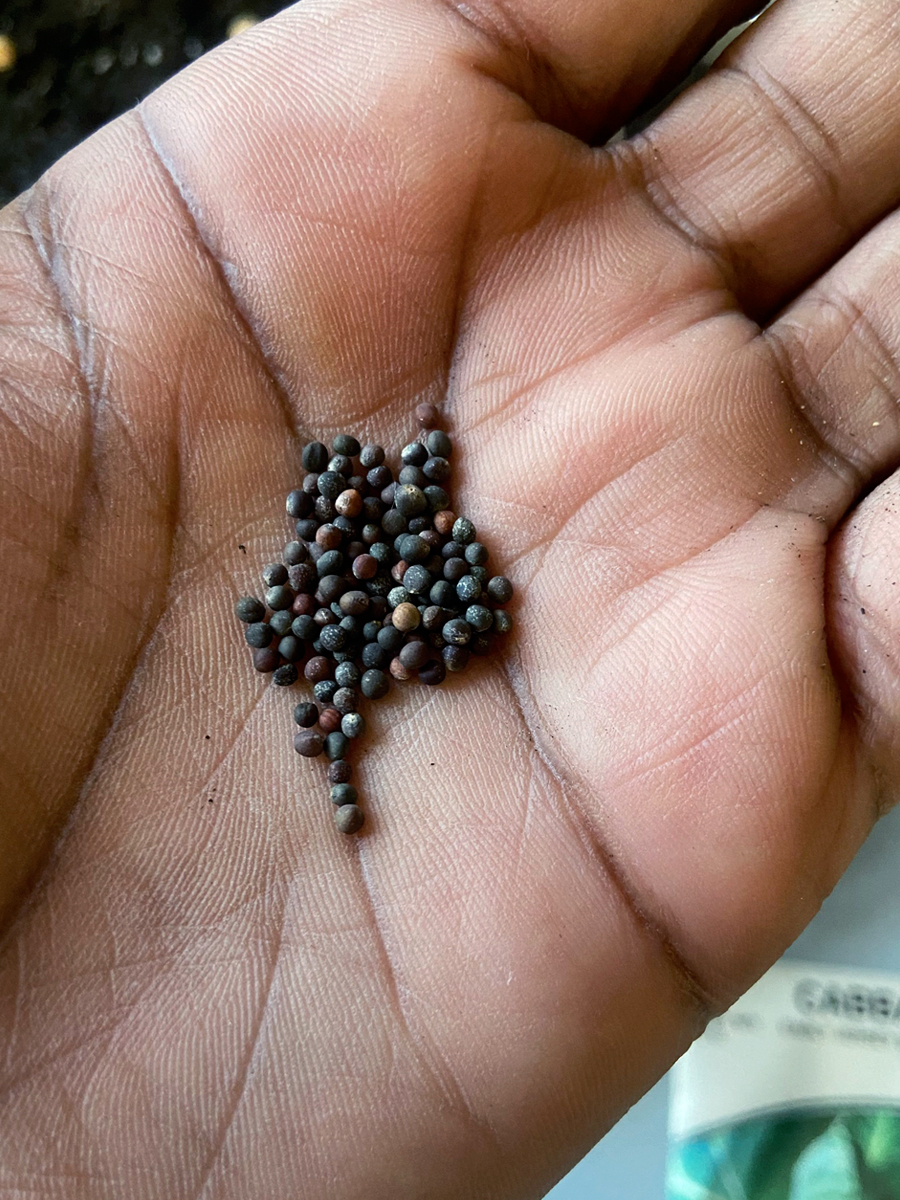
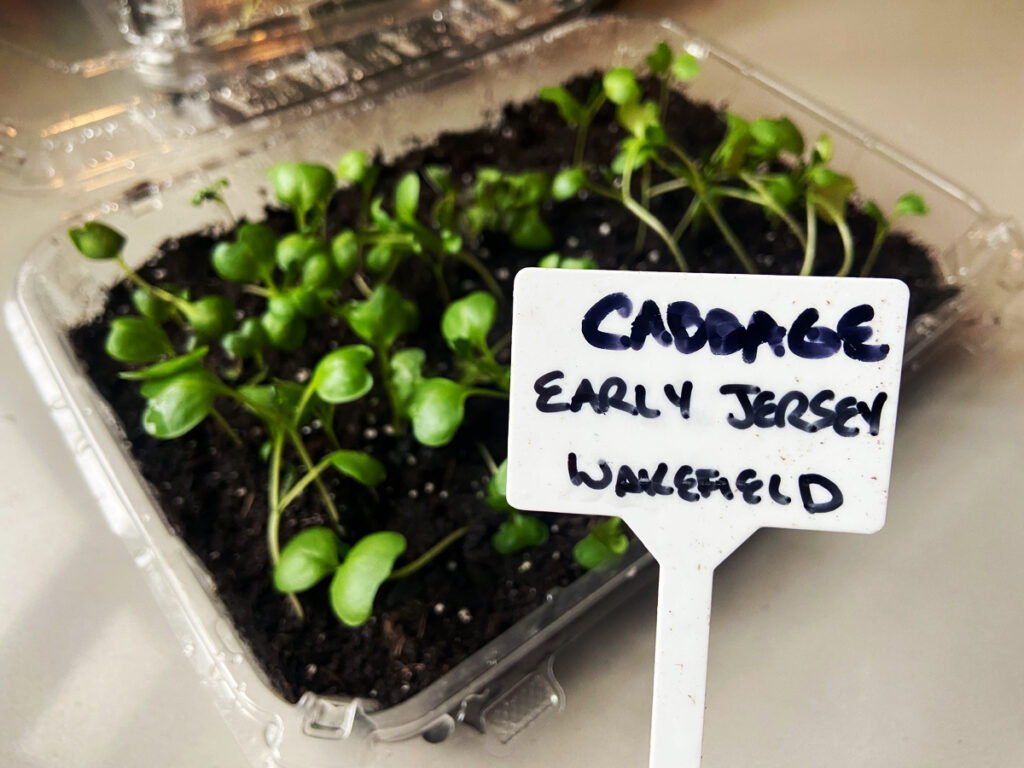
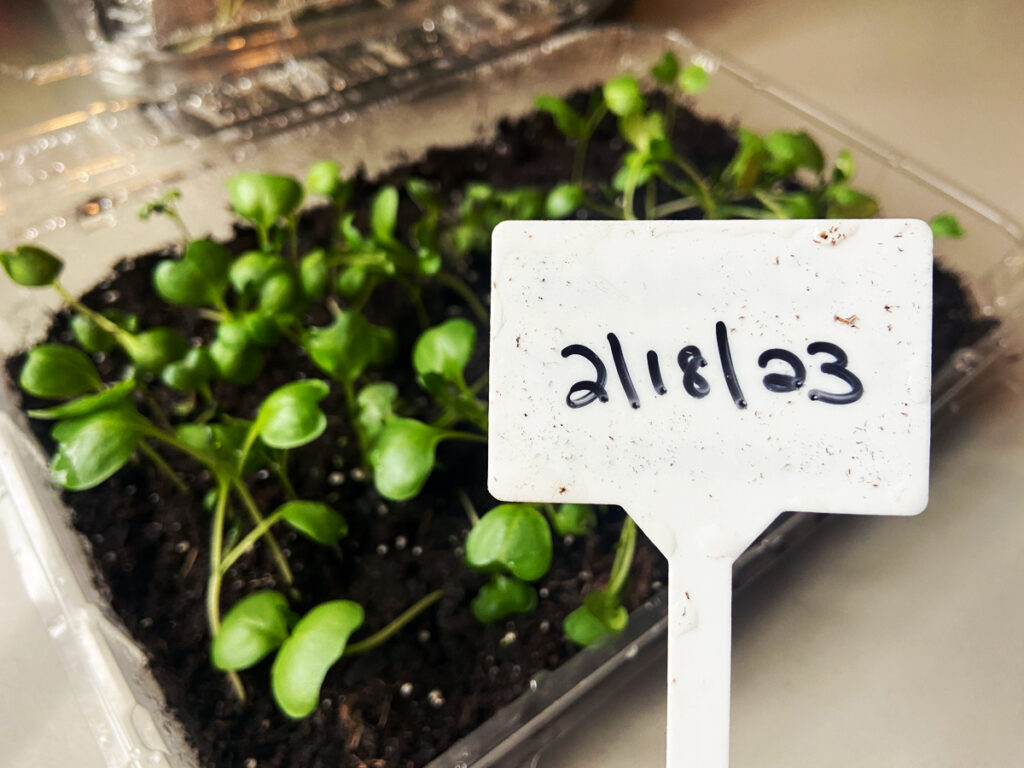
I started these Cabbage seeds on 2/18/2023 and here they are on 3/2/2023, exactly two weeks later.
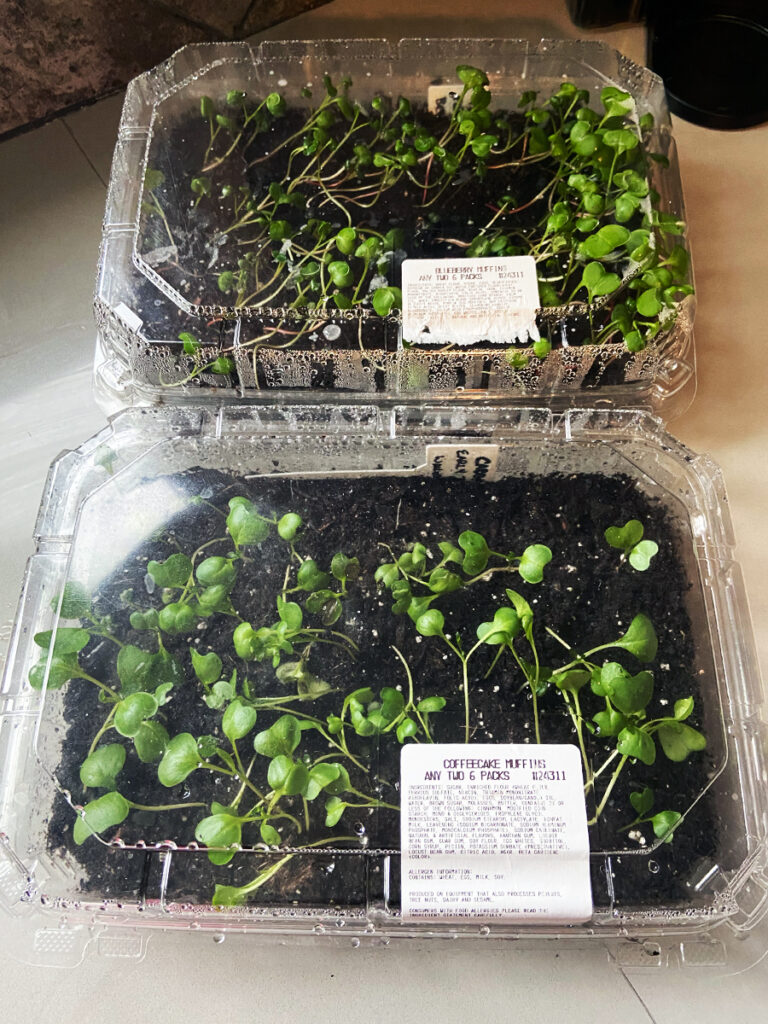
The muffin containers are a perfect environment for starting new seedlings and we have a great germination rate.
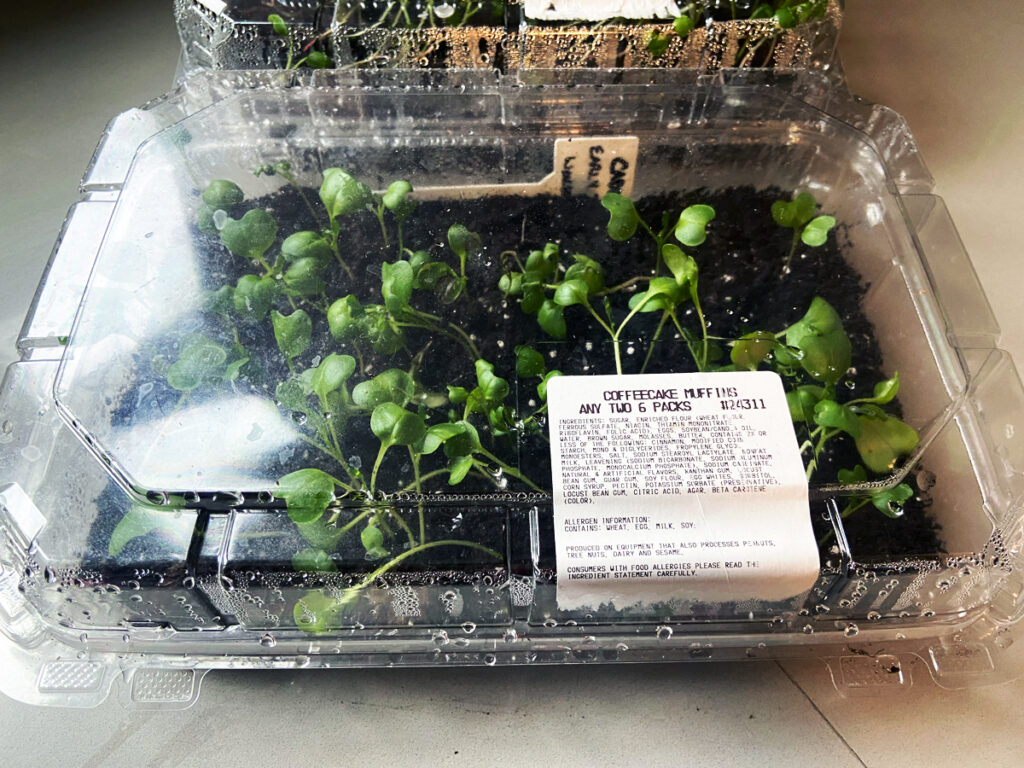

The seedlings actually outgrew this container and were ready to be separated and thinned days ago! LOL
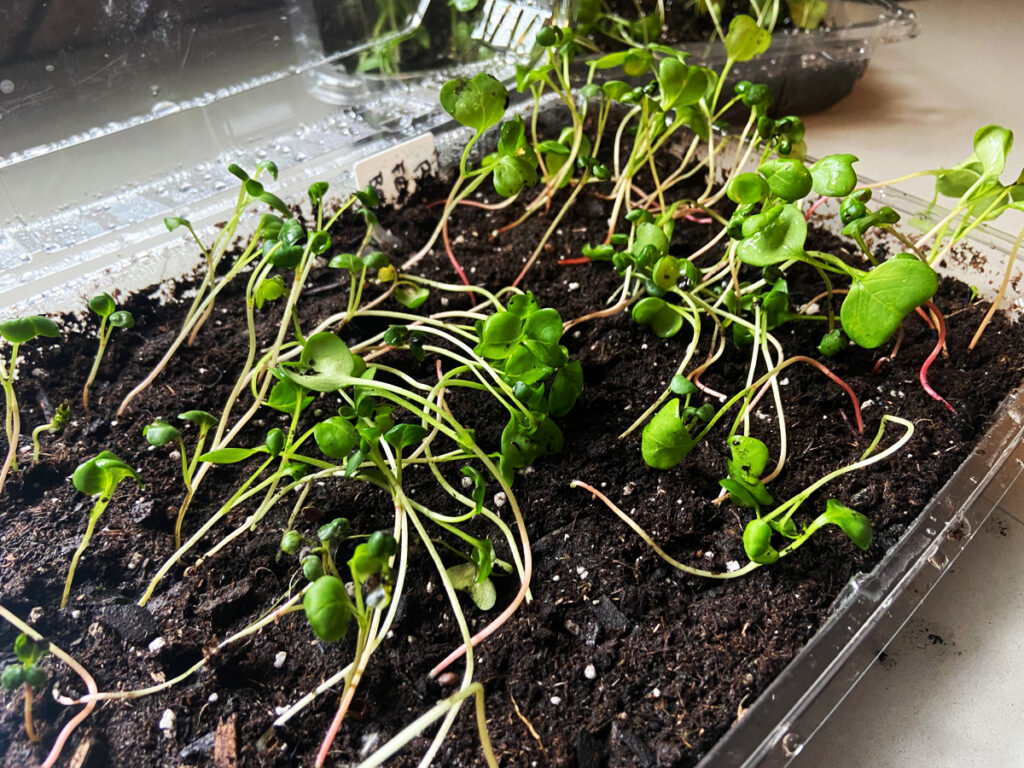
These are the Radish that I started on 2/20/2023 and on 3/3/2023 you can see that the seedlings are ready for a larger pot. They look a bit leggy and some of the stems are starting to turn purple, so that lets me know that they definitely need more nutrients and access to more sunlight!
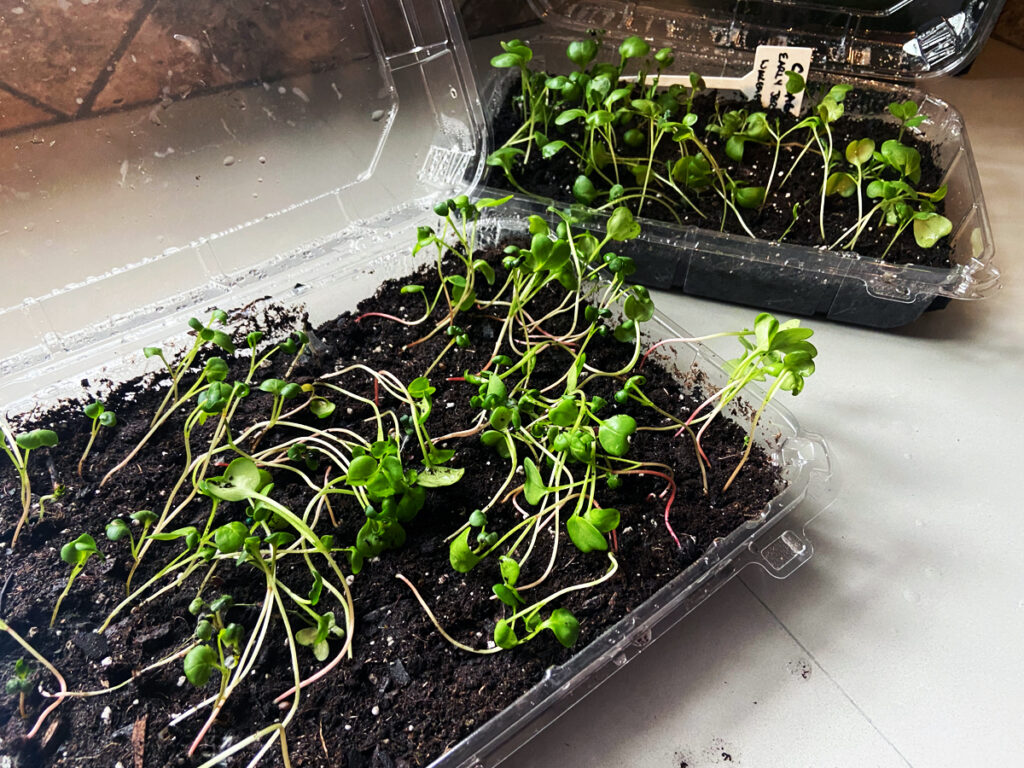
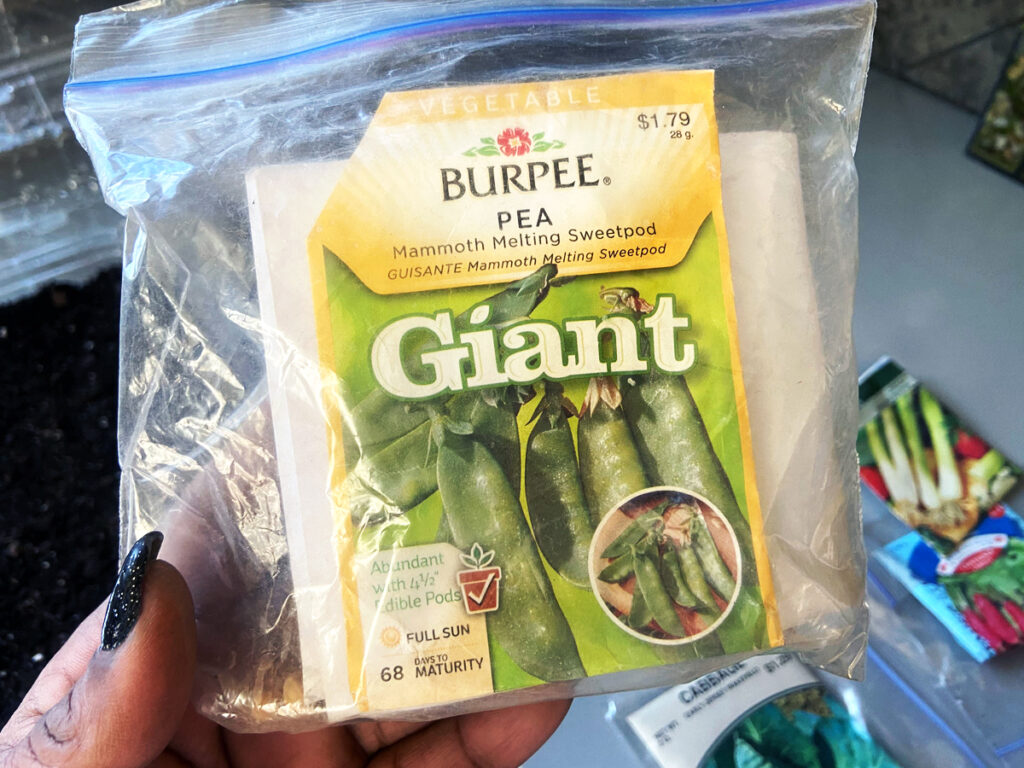
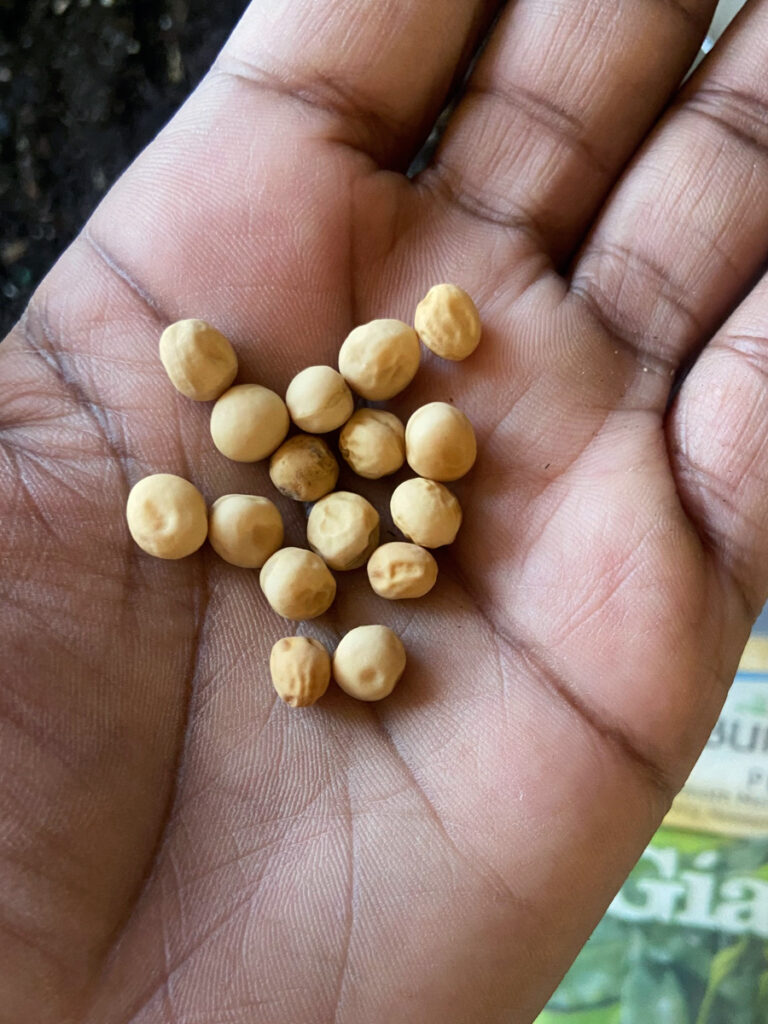
Ok, so here’s the final rundown: Two weeks after starting all the seeds, the Spinach has started to do their thing and I’m still waiting on the Peas to show some signs of life. But the cabbage and Radish grew faster than my schedule allowed me to keep up with. Overall, we’re off to a great start for the 2023 grow season! Now let’s tally up the cost: 4 re-used plastic containers/$0, re-used dirt from the previous year/$0, 4 packs of various seeds/$5. Bringing the grand total to start all of the wonderful plants to $5 plus the cost of the water, light and my time (time IS money folks! lol). I still have seeds from each pack so there is even more return on the $5 investment to come!
I hope you enjoyed this post and are looking forward to saving your plastic containers so you can use them as inexpensive, tiny DIY greenhouses next time. Stay tuned for Part 2 of this post, where I’ll show you how I’m going to thin these seedlings out and get them in the ground outside!
THANKS for stopping by!