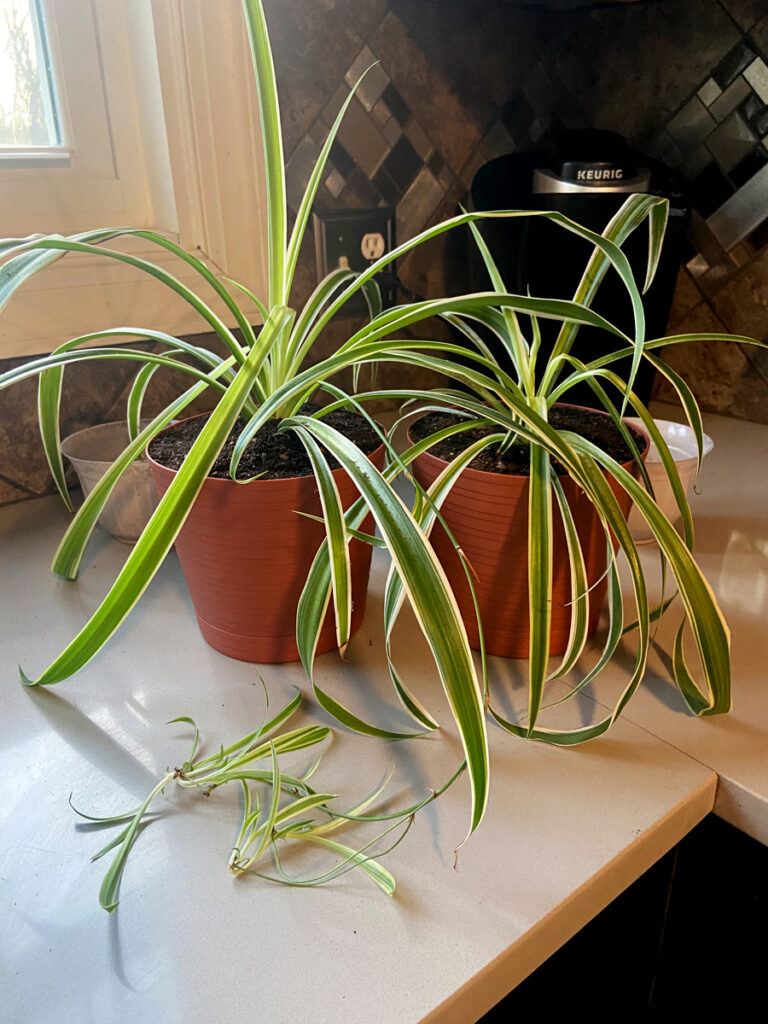
I was so happy when I got a chance to take home a Spider Plant pup from one of these larger Spider Plants that you see here on the right.
I’m not the best at indoor gardening, but I’ve been taking a stab at it over the past couple years and it’s starting to “grow” on me and becoming less difficult than I thought.

The first thing for me, whether gardening indoors or outdoors, is to keep my expenses to a minimum. One way to do that is to propagate plants instead of buying them. With spider plants, it’s pretty easy to propagate and if you read on, you’ll see just how easy it is!
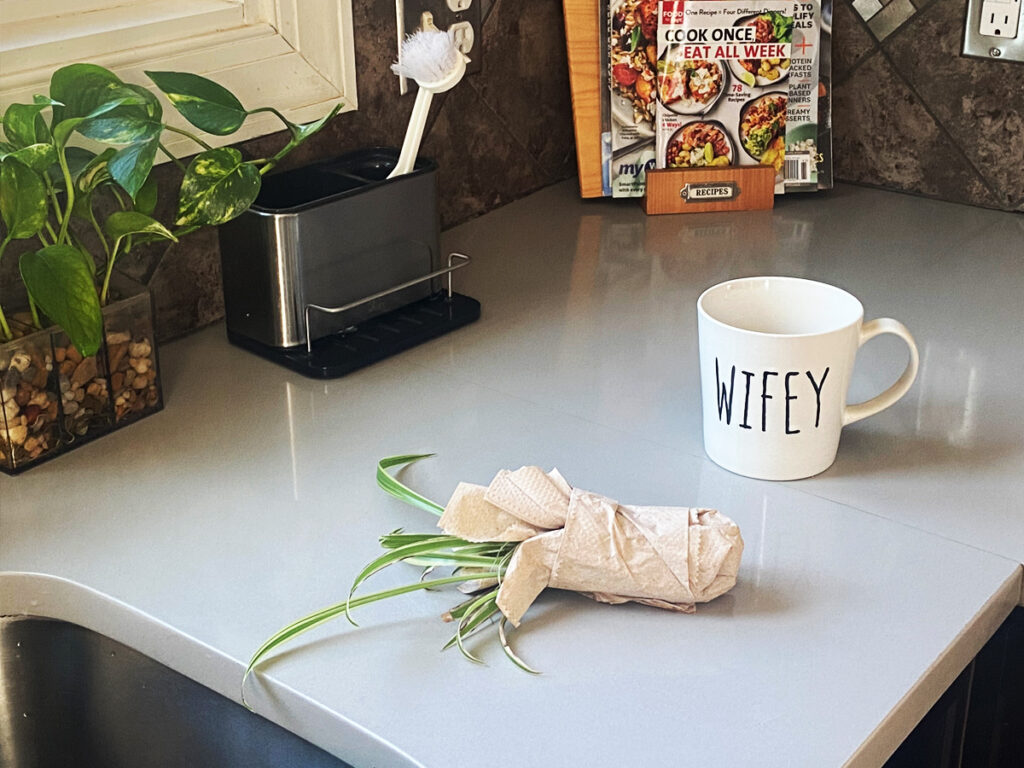
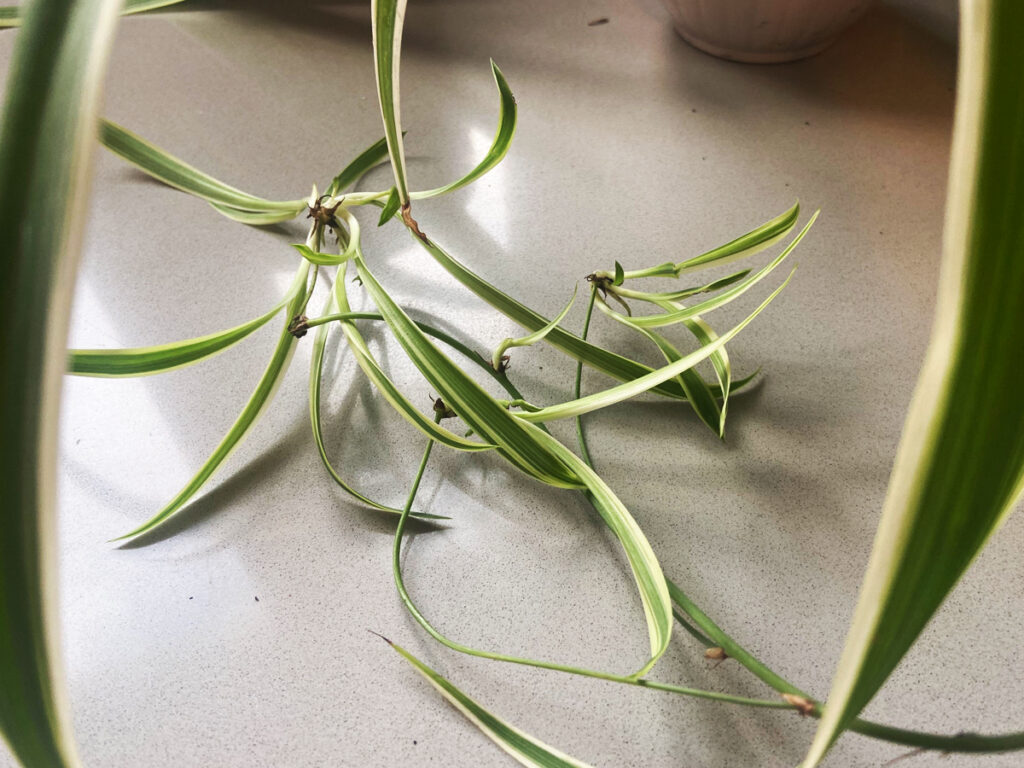
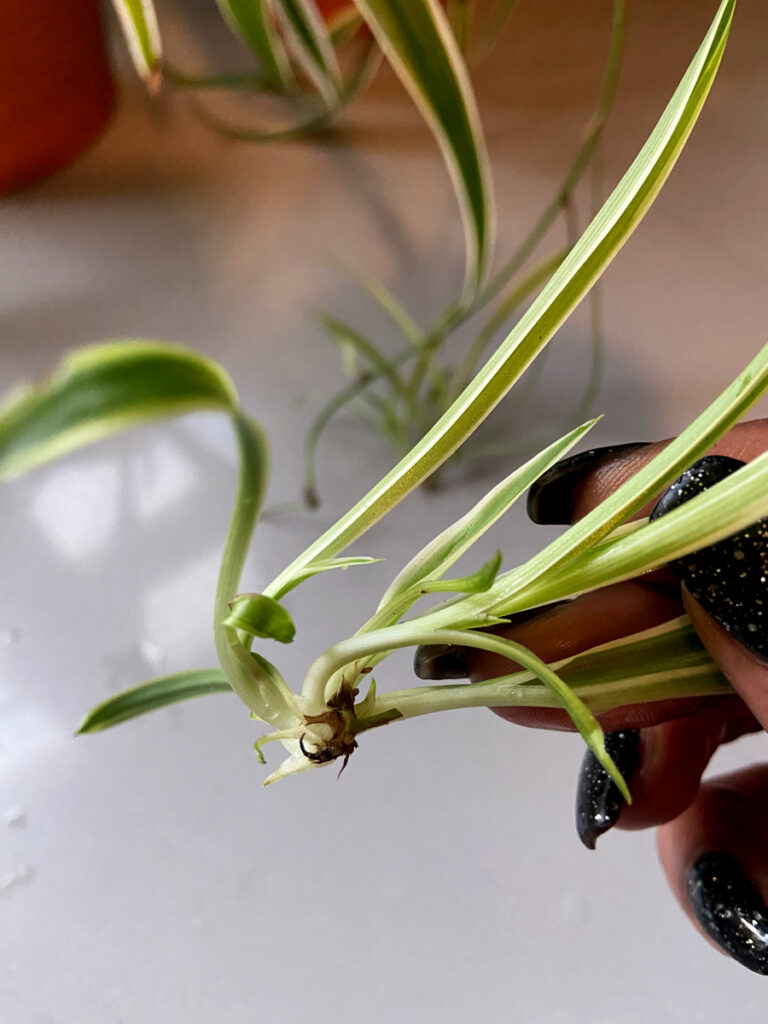
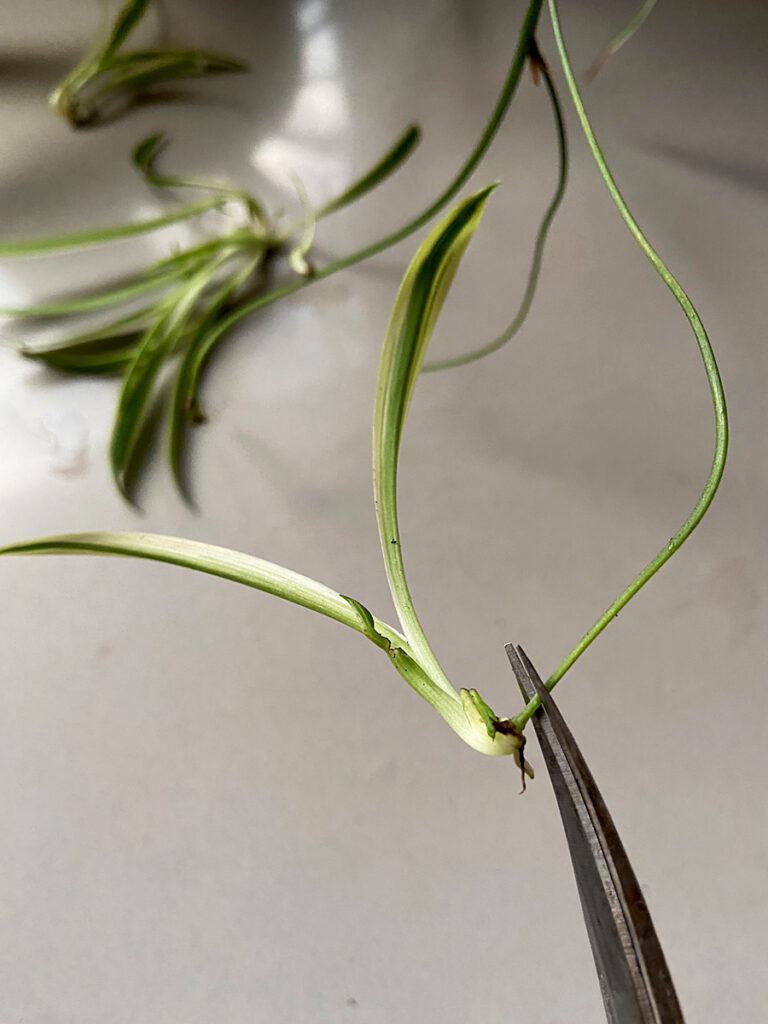
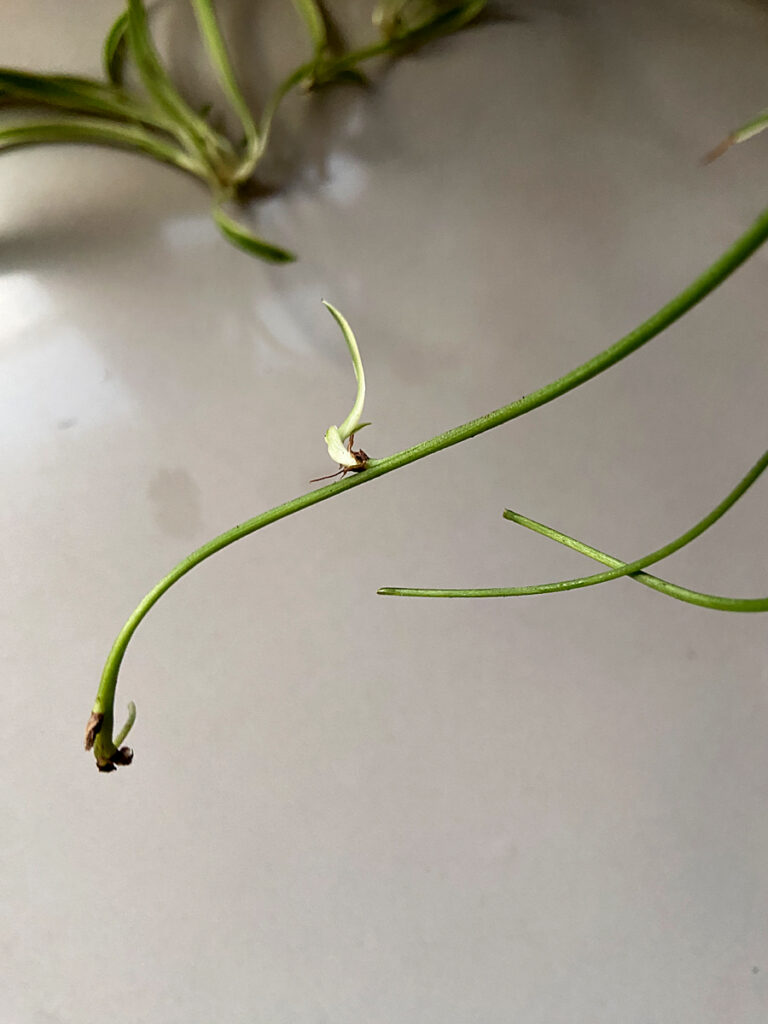
First thing is to get yourself a healthy Spider Plant pup. What is a Spider Plant pup? Well, that’s an identical offspring, growing directly off the vine of a more mature “mother” Spider Plant. They are also called offshoots, spiderettes, spiderlings, runners, or plantlets. You can start with any size pup, the key is just to make sure it’s healthy!
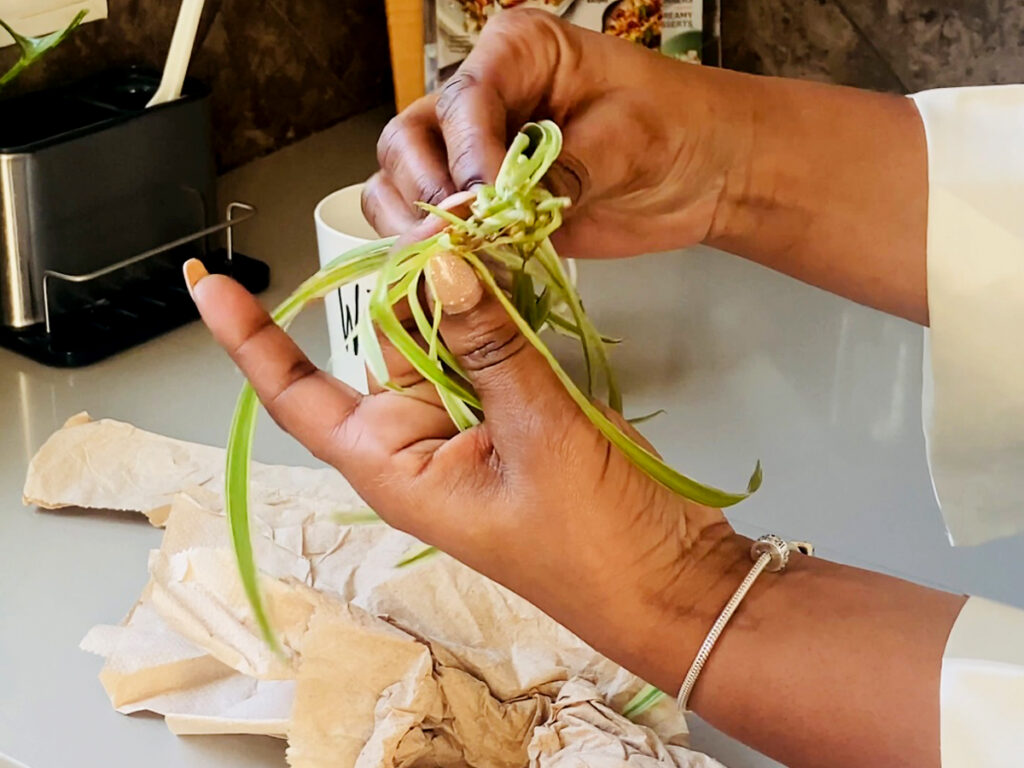
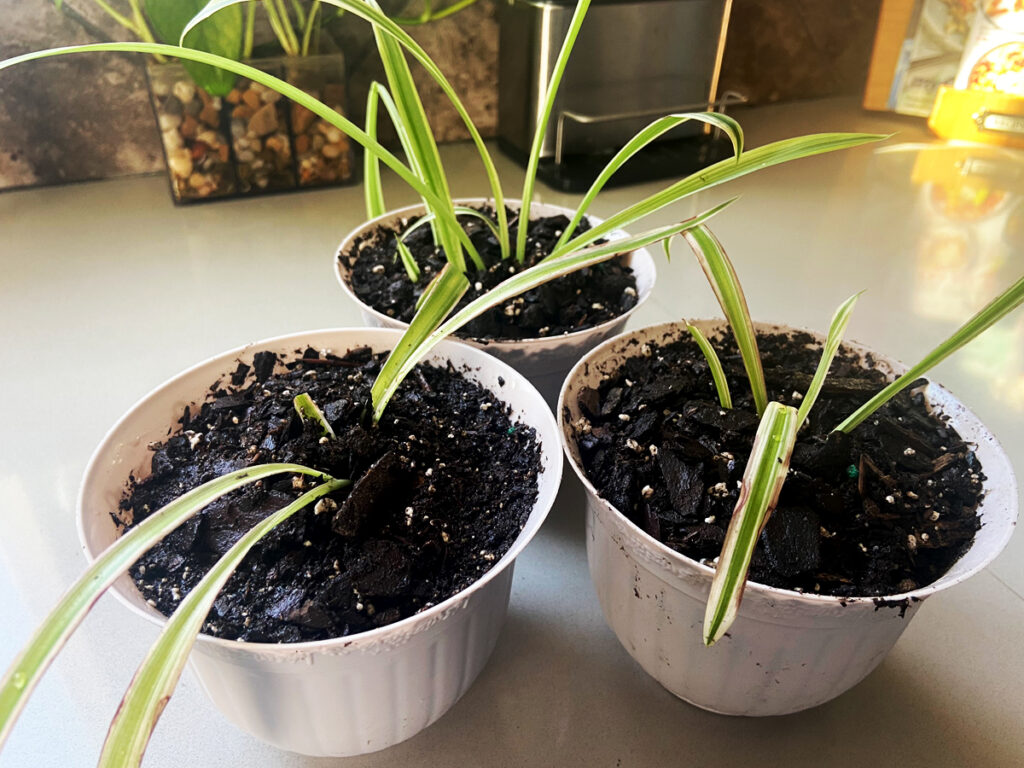
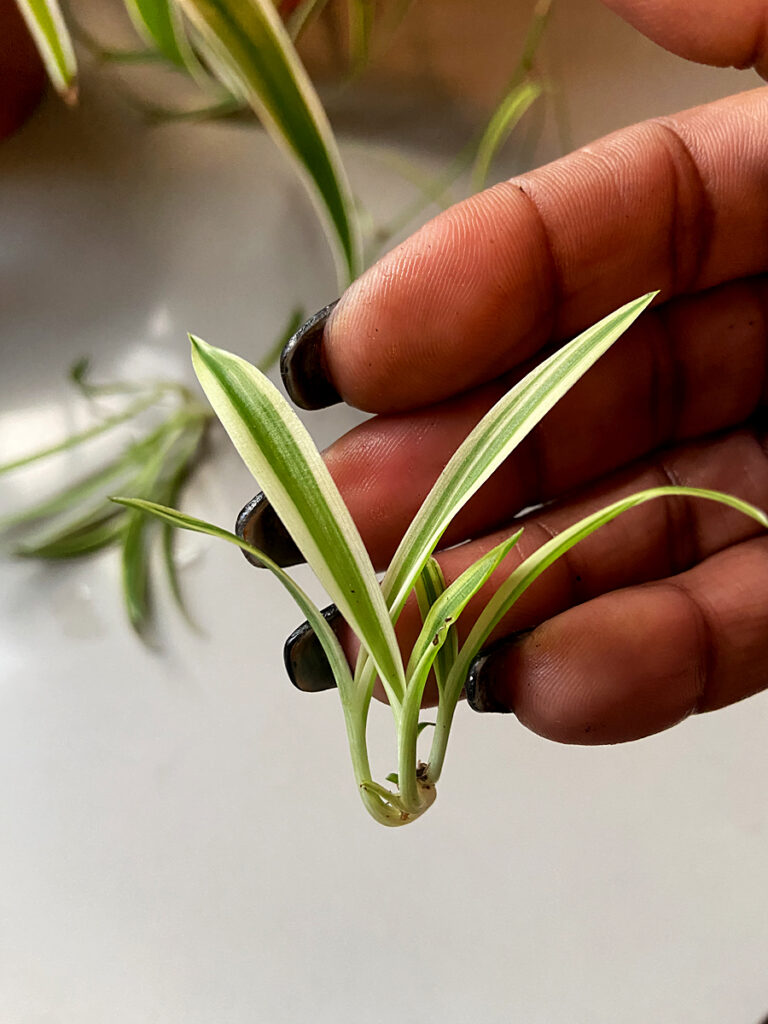
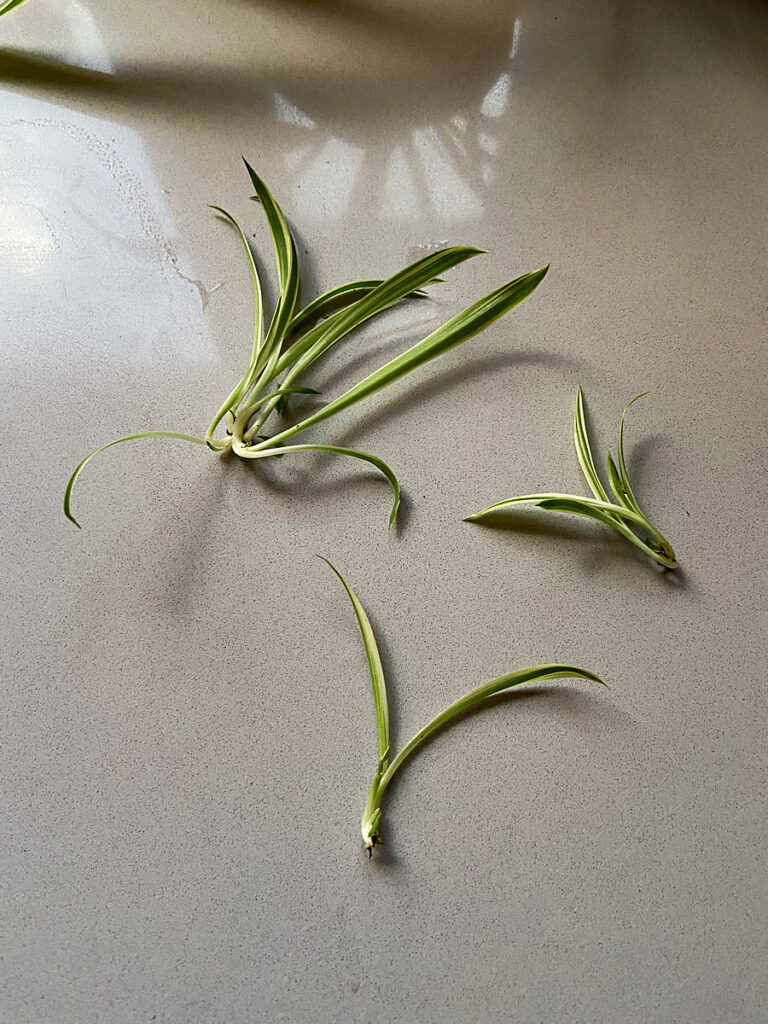
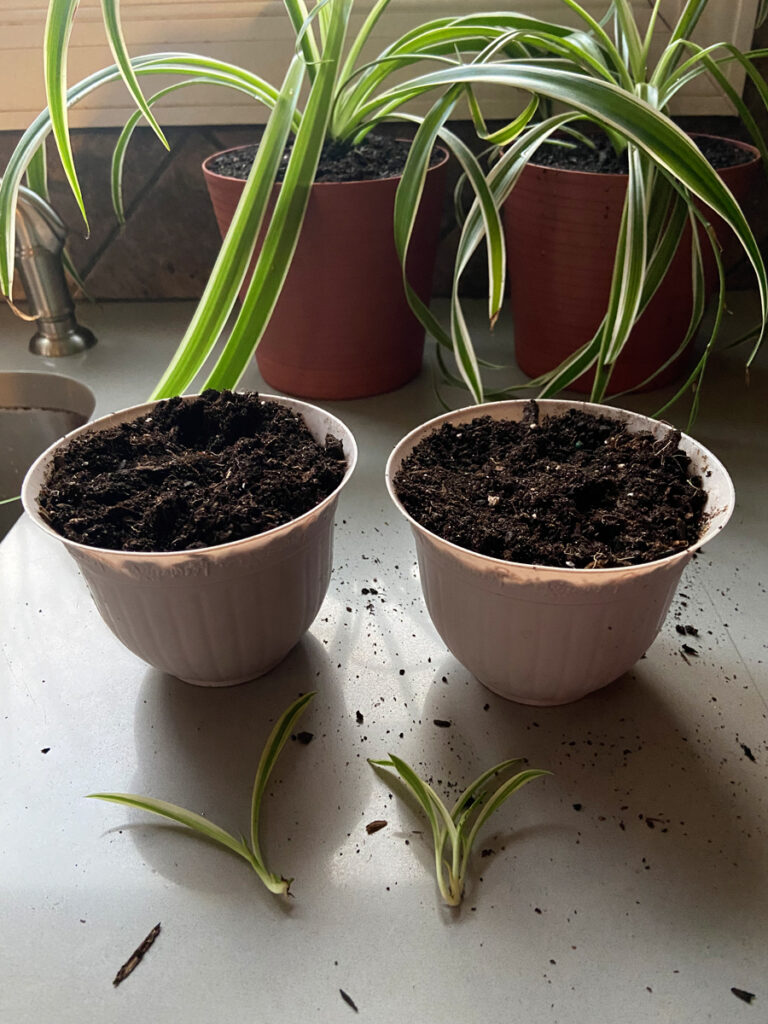
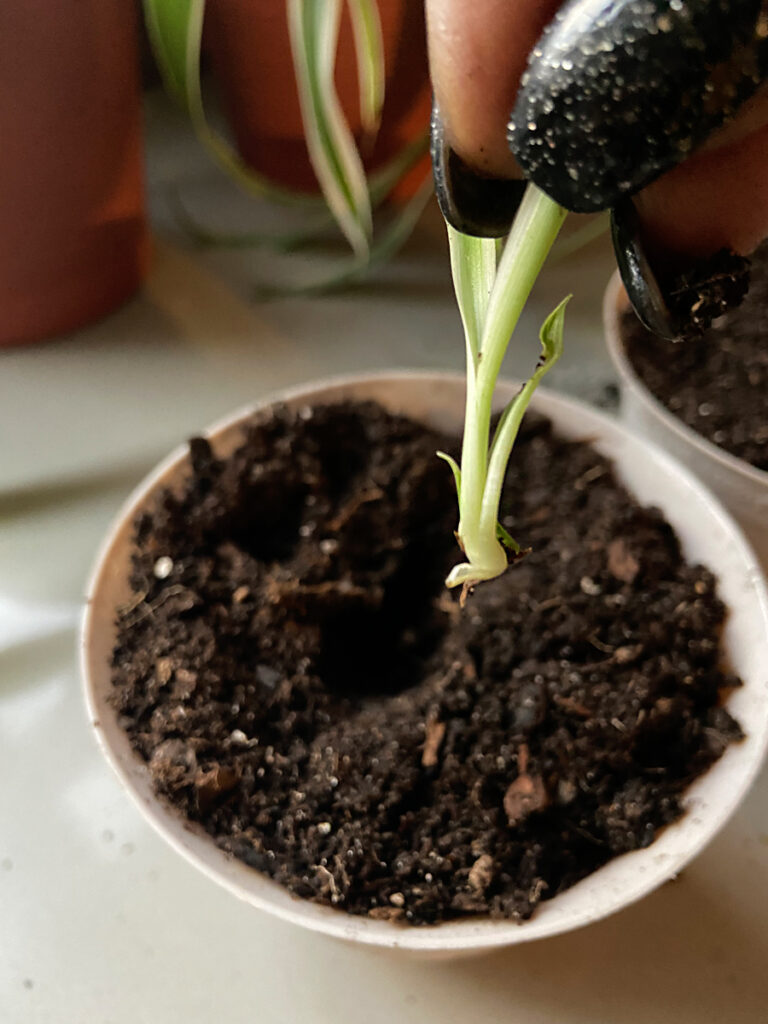
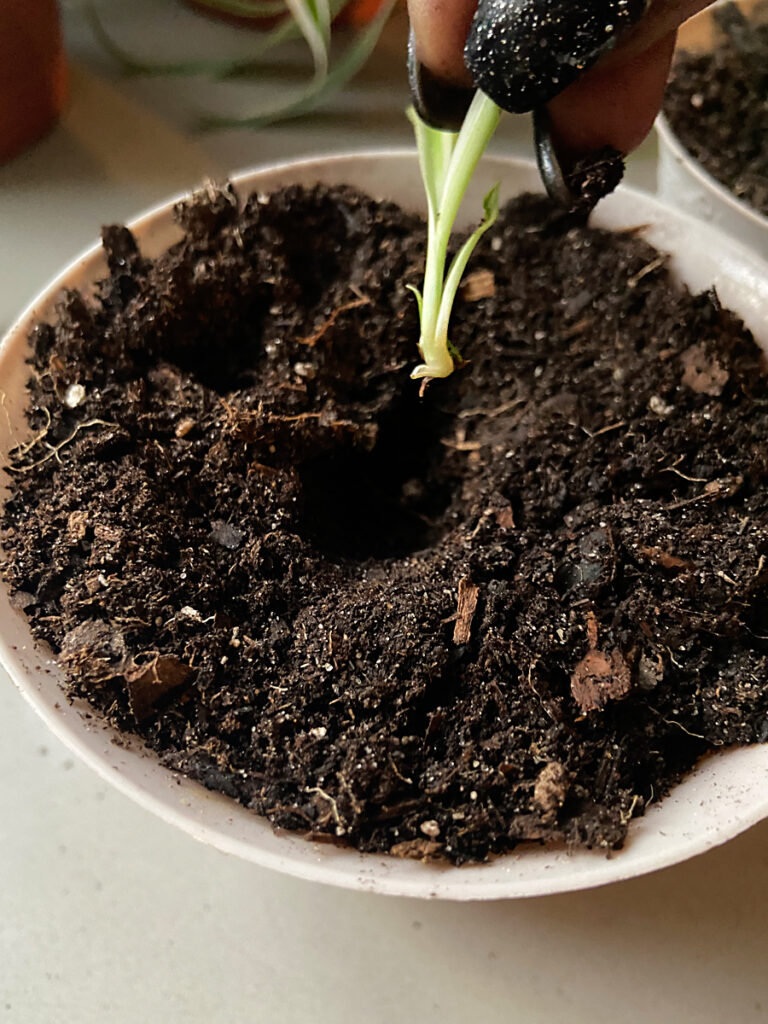
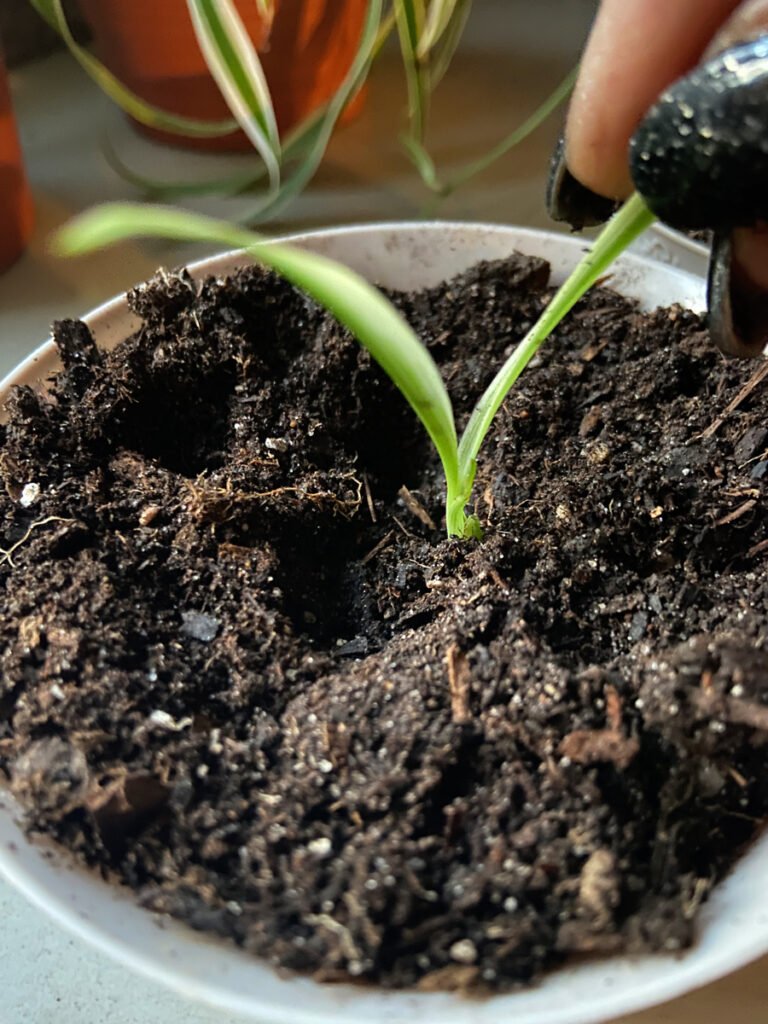
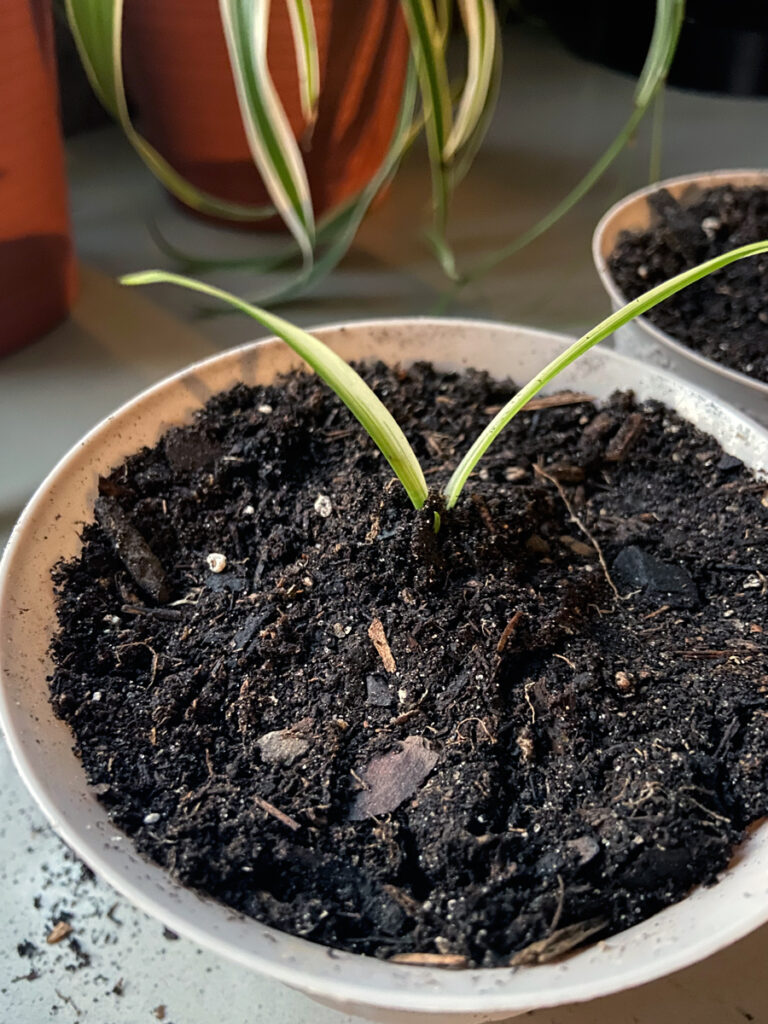
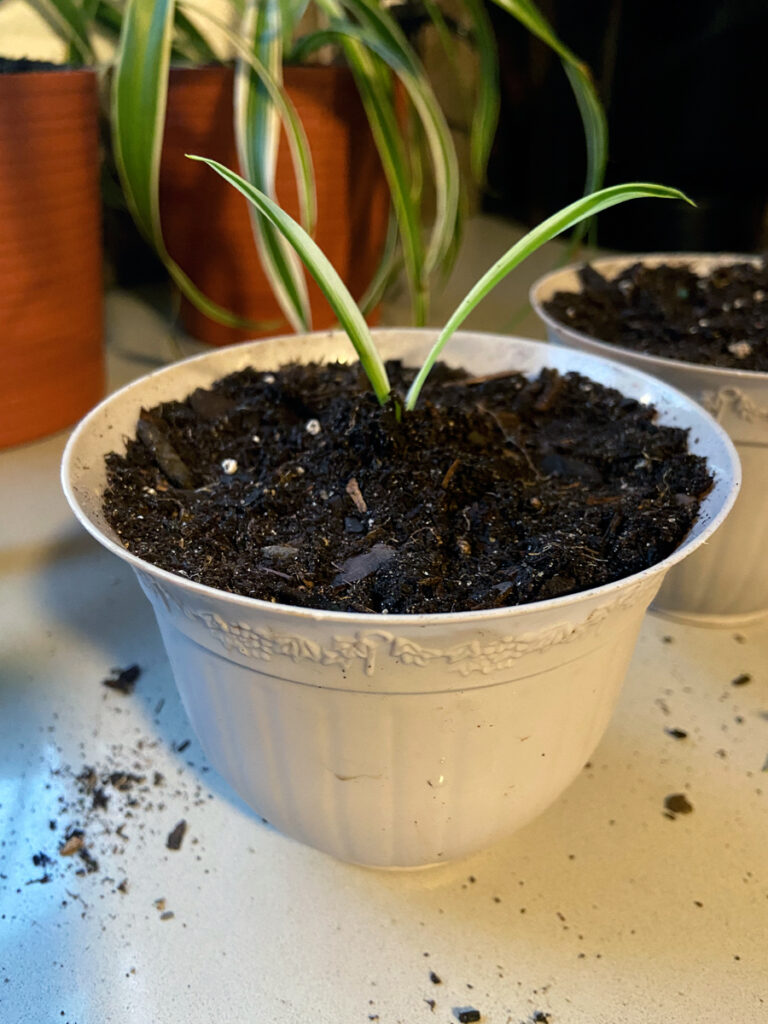
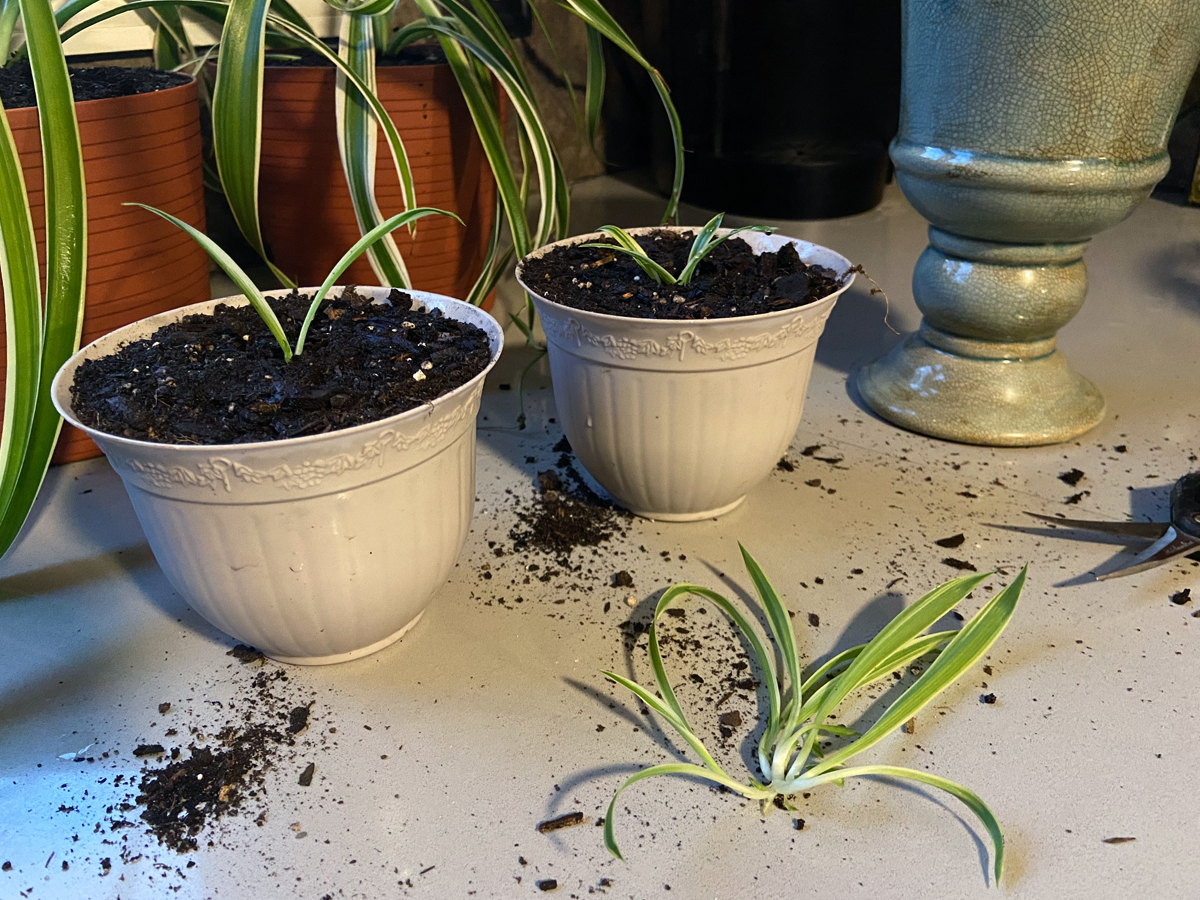
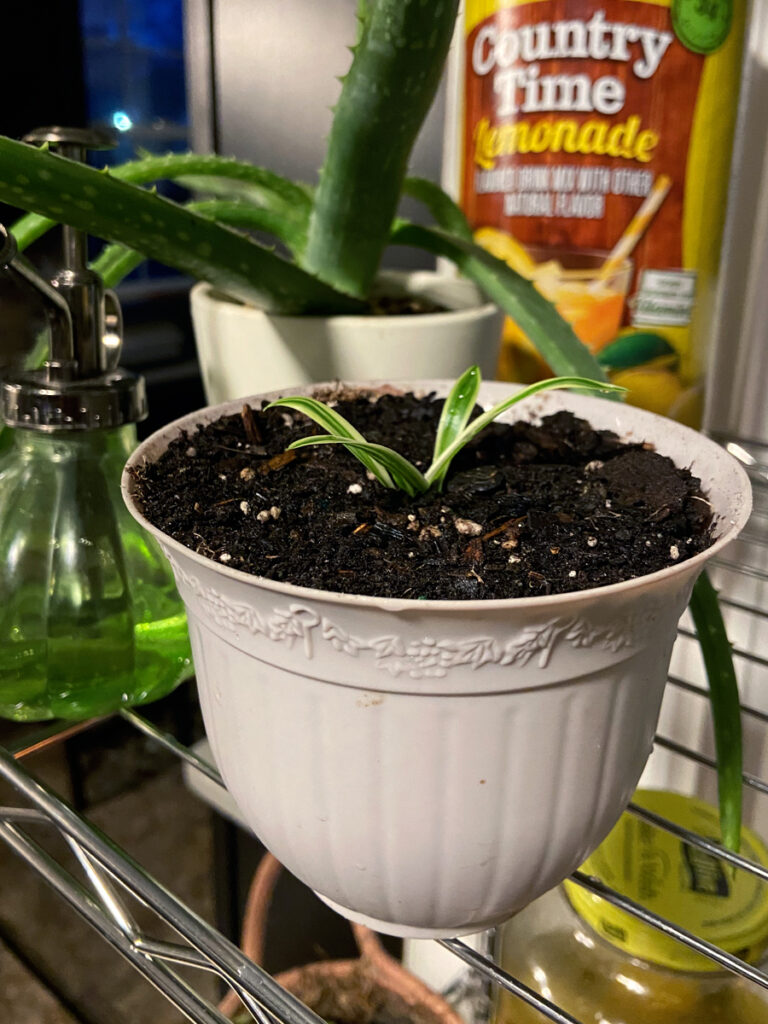
Sometimes, you’ll have more than one plant growing together in one pup. In this case, I was lucky and was able to split the pup into three individual plants. After splitting them, two of the cuttings looked super strong and ready to take on life in their new home. But one of them had a small root system and even though it looked strong, I wasn’t sure if it would survive. I was willing to take a chance on it though, so I potted it as well. Next, I simply placed them in dirt in a small flower pot and watered them well. These were really inexpensive pots that I got from Dollar Tree. I hope you can find some cute, inexpensive Dollar Tree planters and propagate your plants in them too!
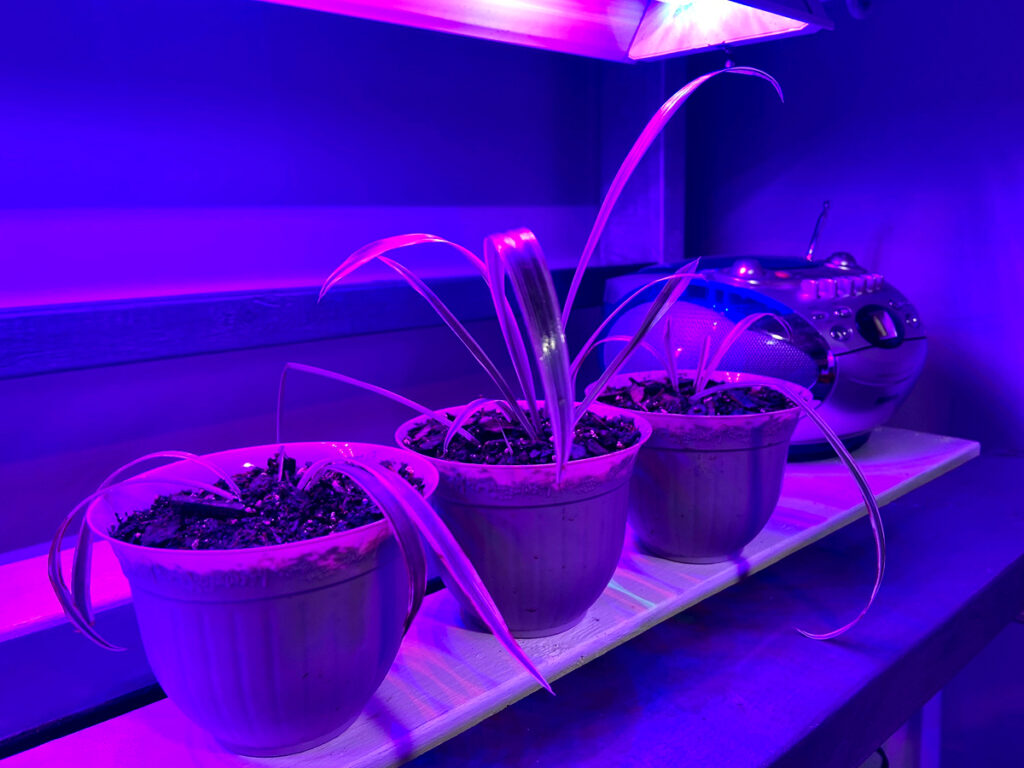
After placing them in dirt, I set them in my indoor grow area to get in a little extra UV for about two weeks before I put them in their final home, my kitchen window. You can skip that and simply place them in a sunny window. I thought they could use a little extra TLC since they had to go through the shock of being cut away from their Mom and brought into a totally new environment. I’ll be adding more pics and videos how the progress soon, so stay tuned!
Updated on 2/25/2023
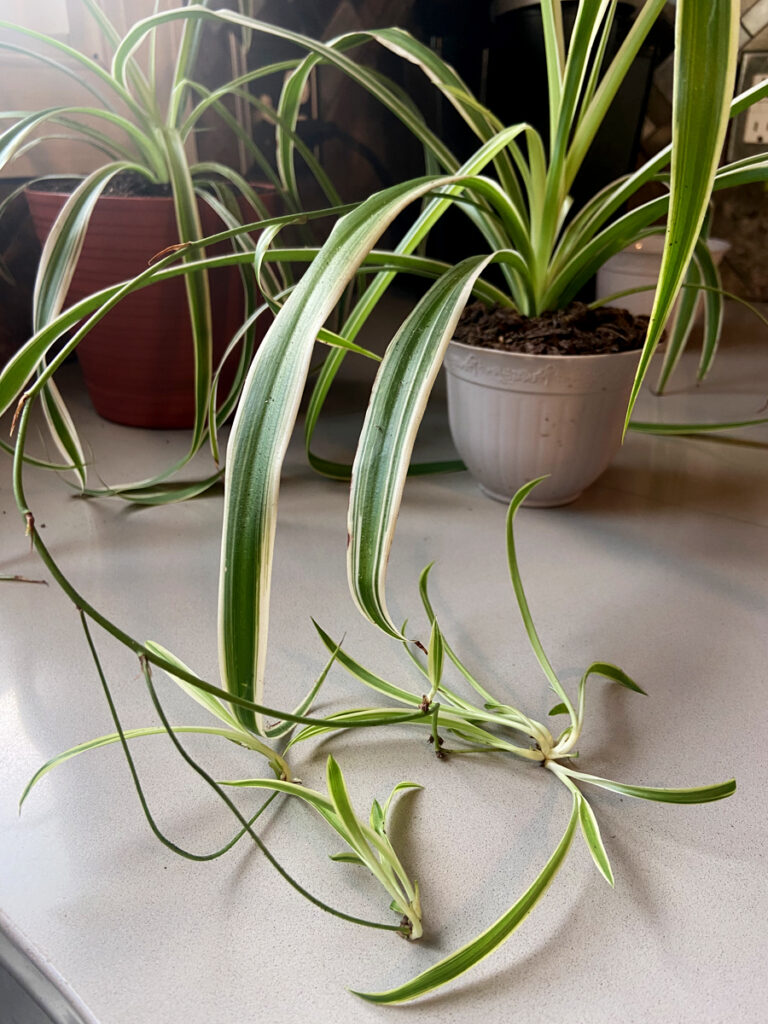
Here we are a little over a year later and two of the three spider plants made it! I was trying to get as many plants as I could out of one pup, so I split it three times and that third cut was really close to base of the root. I was hoping it would survive, but it didn’t. It’s not a total loss though, because I got a great learning experience from that: now I know exactly how close I can cut to the root base.
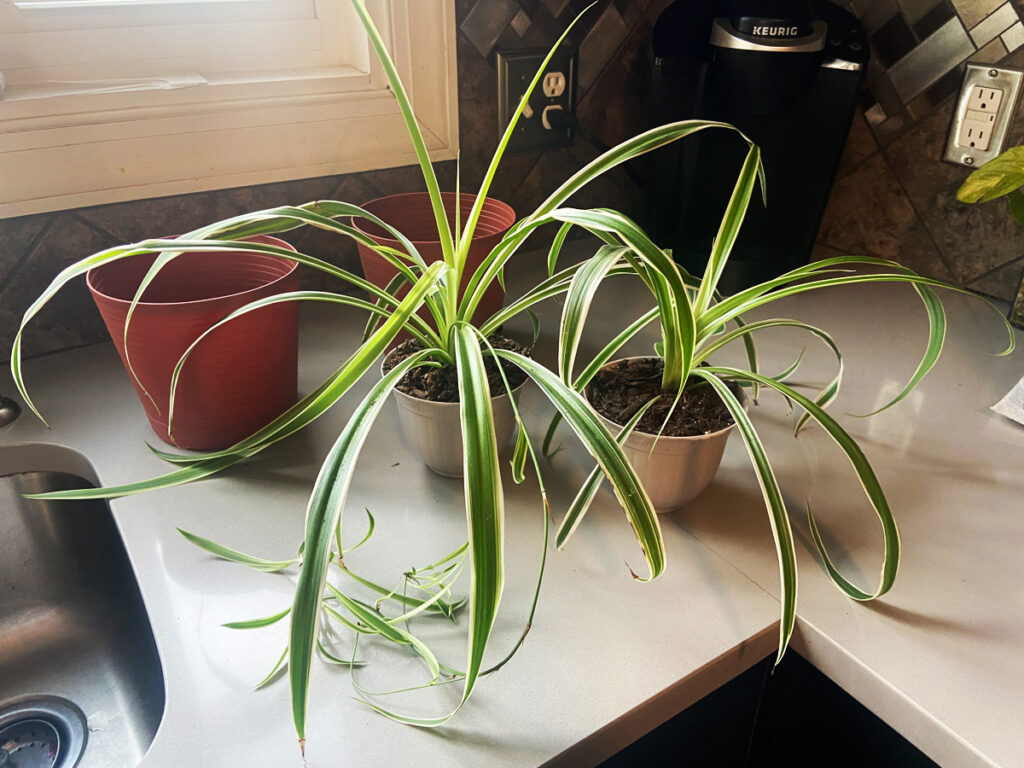
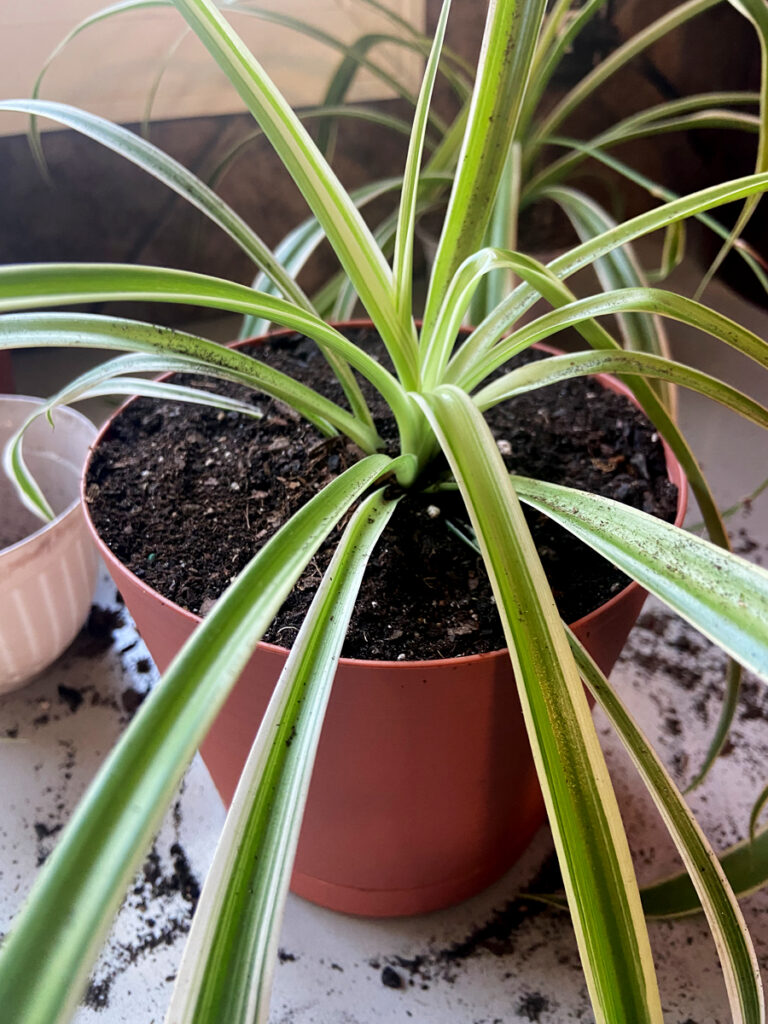
As you can see, these two plants have outgrown their pots and one of them have even produced their own pups. I can now put them in two larger pots and snip of the pups and start new plants with them!
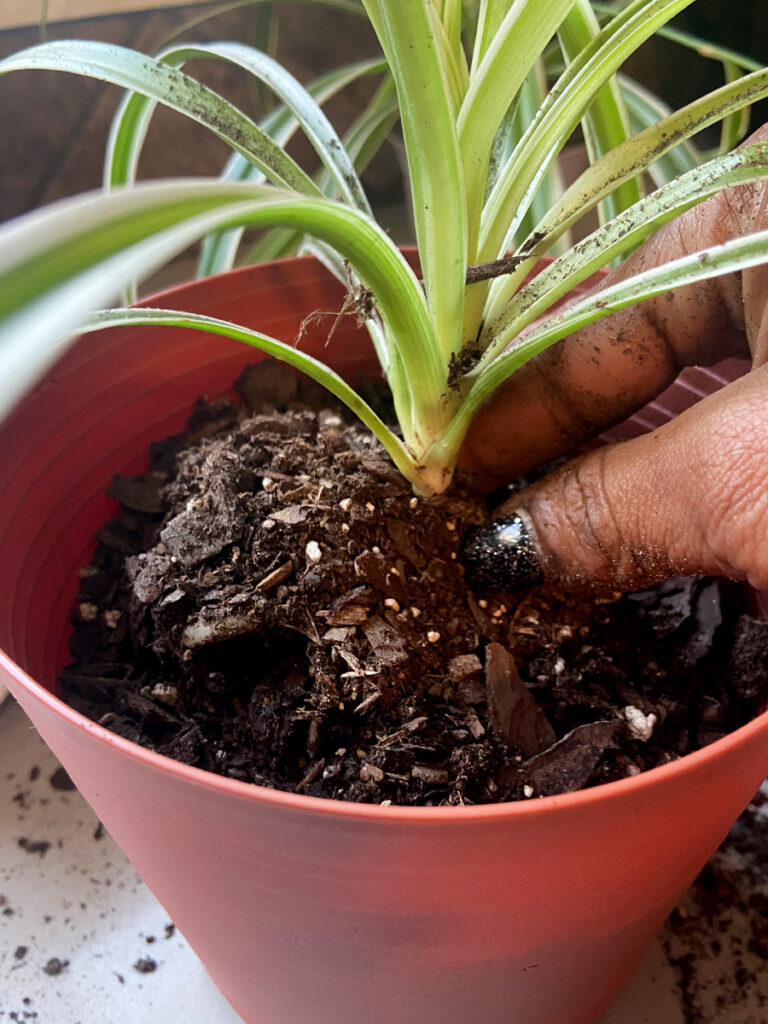
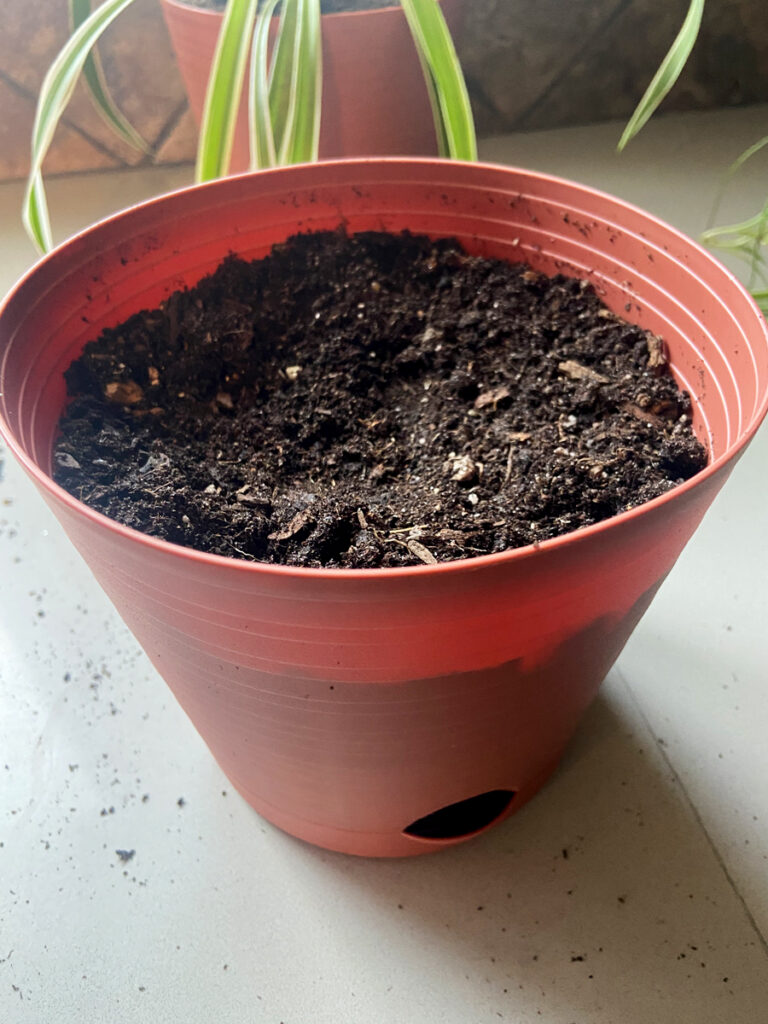
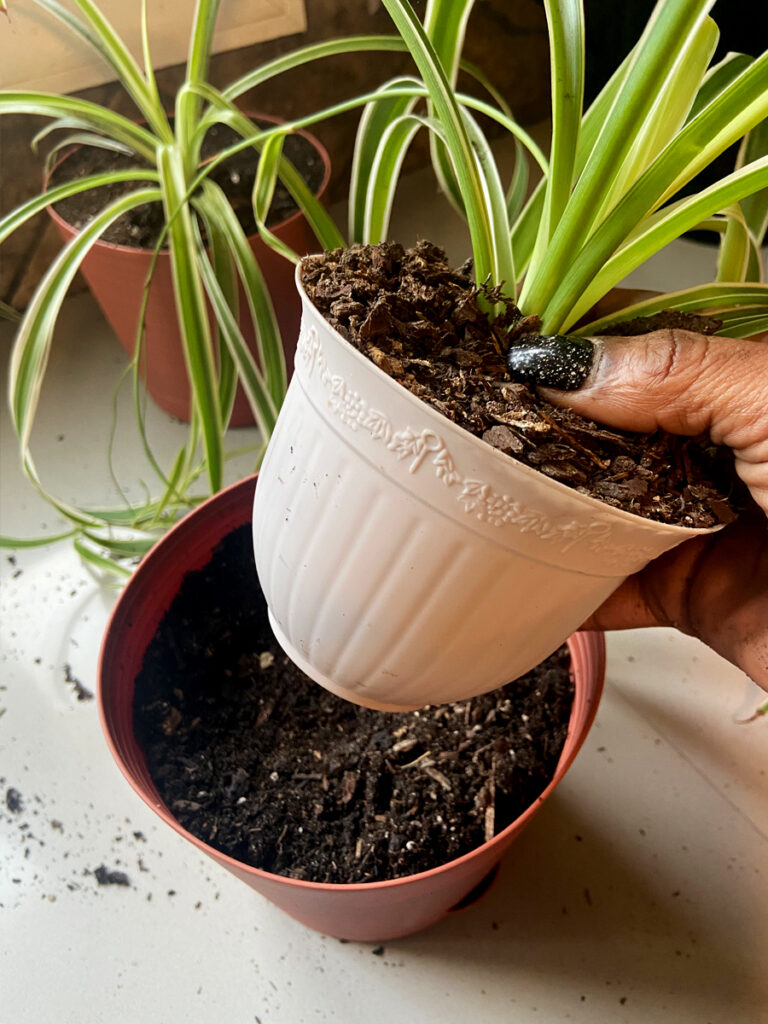
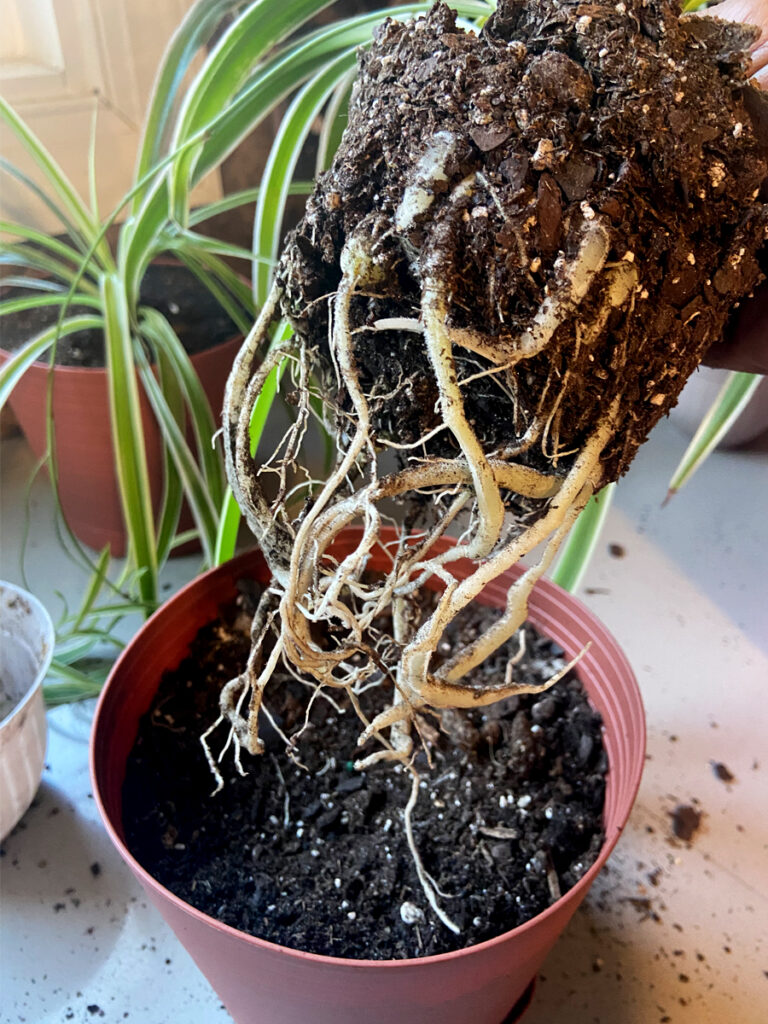
Let’s start with the plant that hasn’t produced any pups. It will surely have a smaller root system and all we have to do is transplant it to a larger pot. I’m not going to go many sizes up because, in pot that’s too large, soil dries much slower, and I don’t want to risk the chance at getting root rot. The general rule is to increase pot size by approximately two inches than its current container.
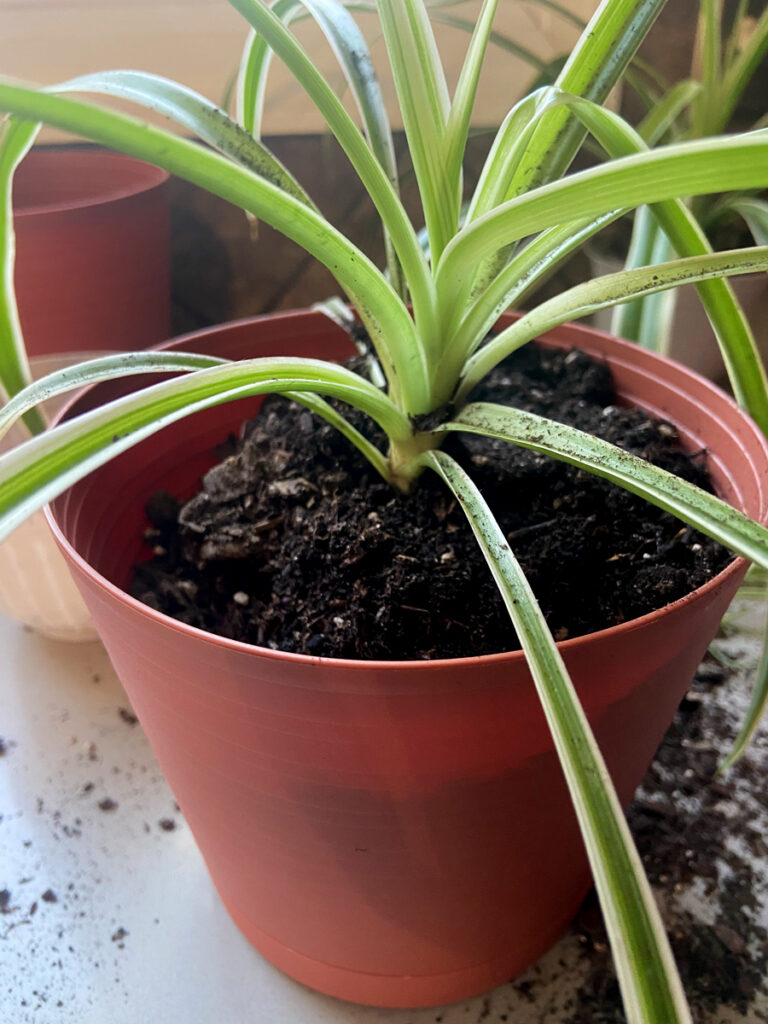
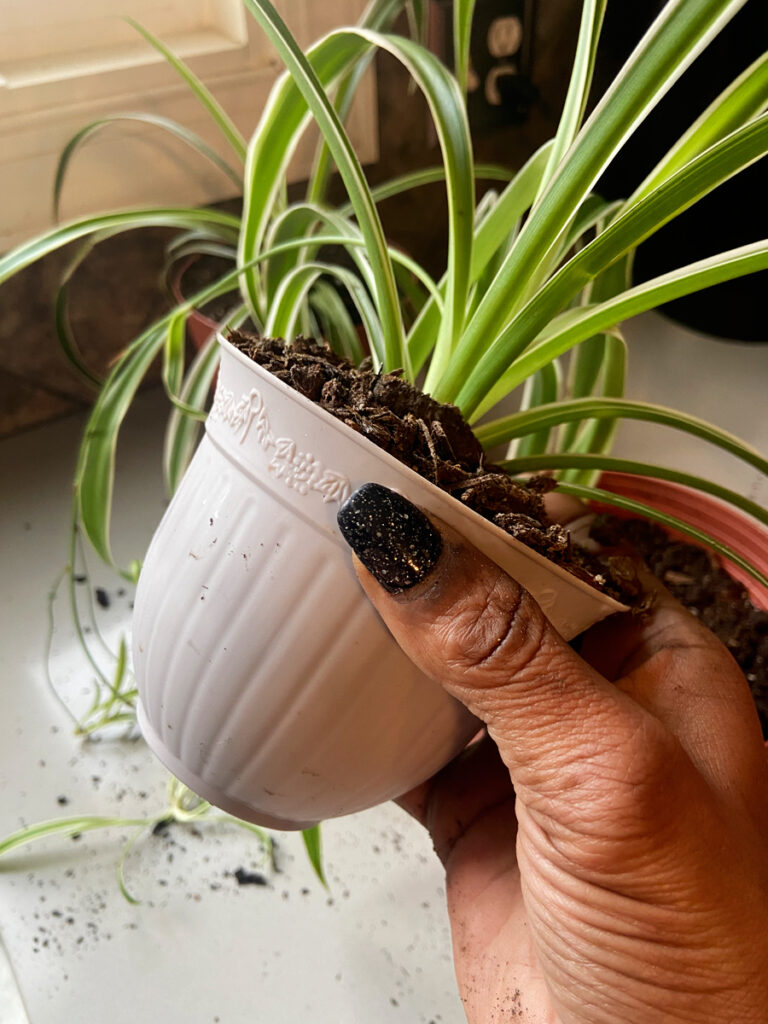
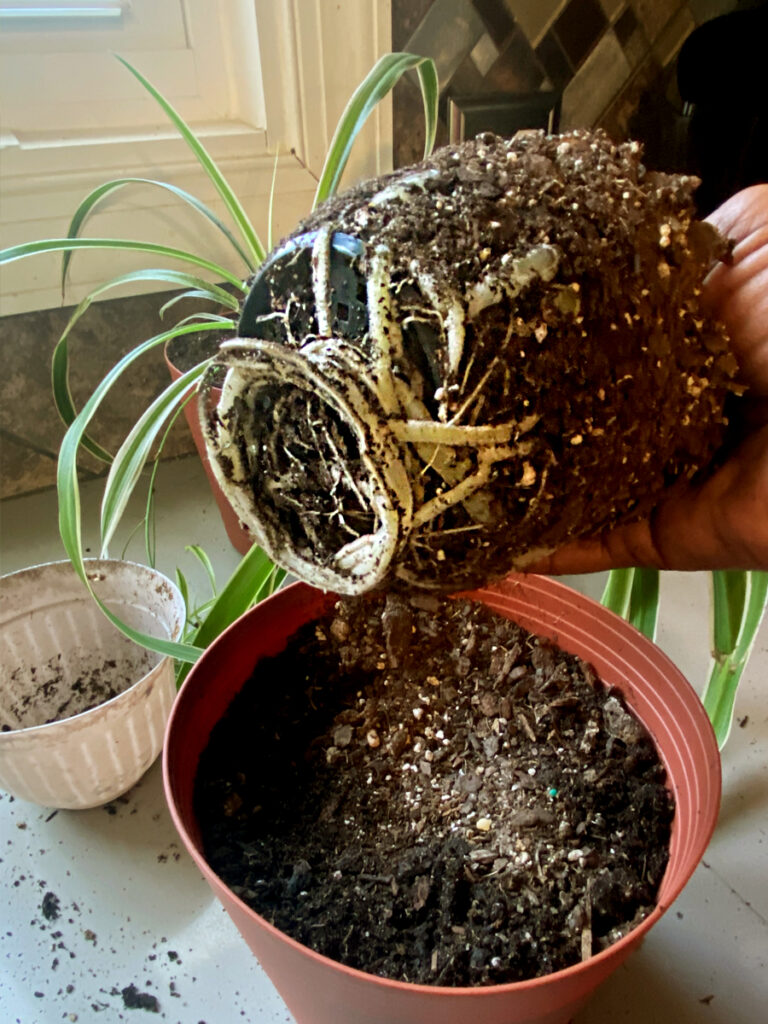
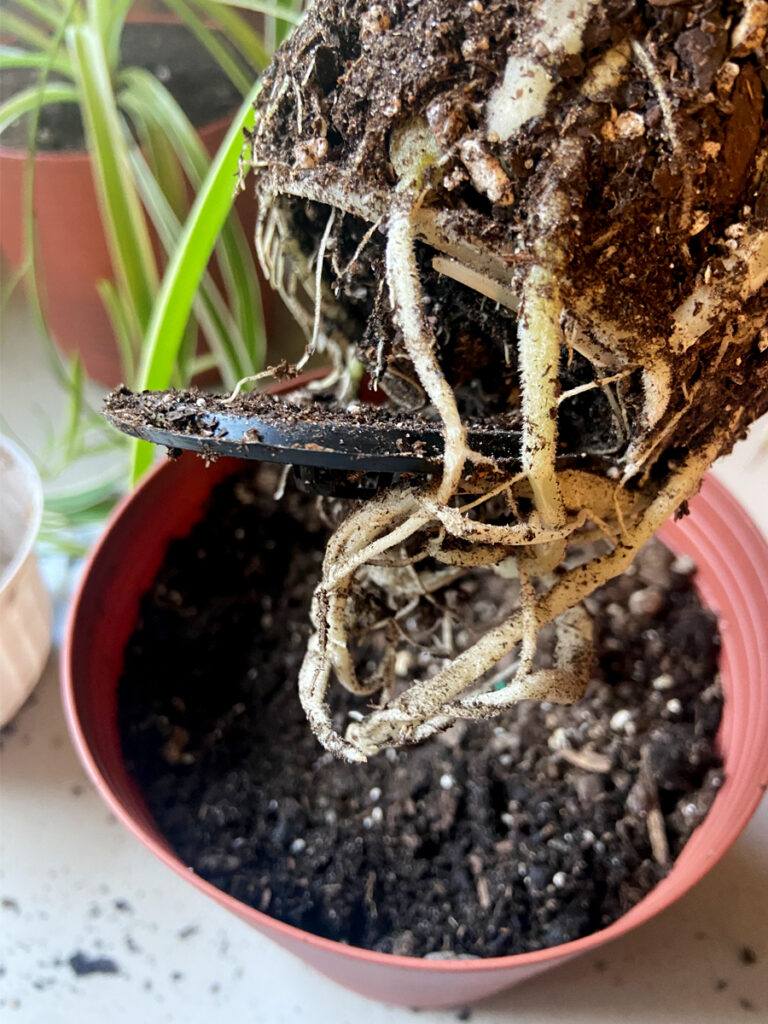
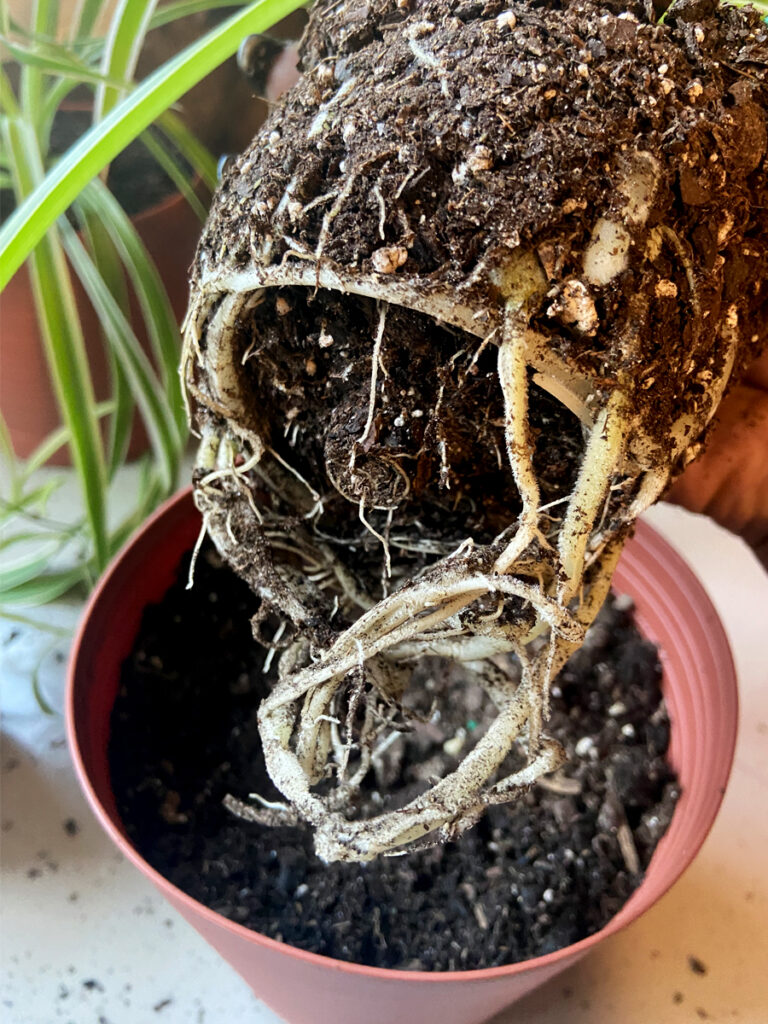
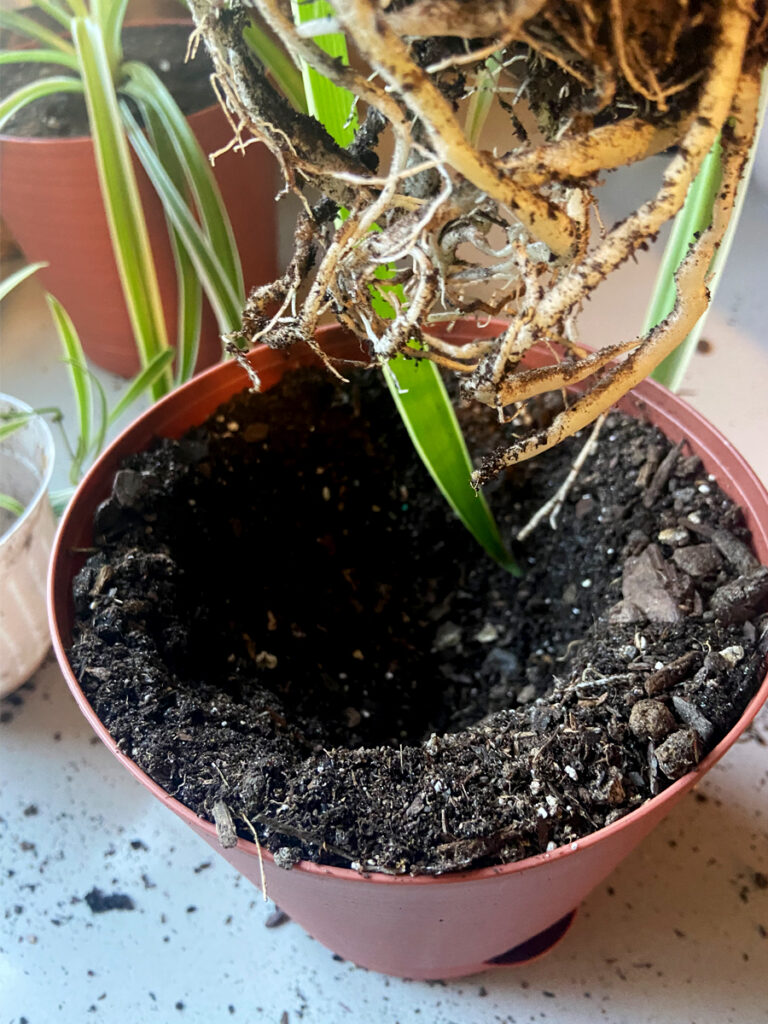
First I filled the new container with dirt to bring the soil up to a level where the base of the plant will sit level at the top of the soil. Then I gently squeeze around the pot until the plant loosens and comes out in one clump. The root system just started to into a spiral, which we don’t want, so I’m really glad that I stopped to do this. I’ve been wanting to swap them into larger pots for a couple weeks, but my schedule wasn’t allowing any room for break-ins. This morning I said, you know what, I’m so doing this right now! Most times our schedules are rulers of our lives, but every now and then, I like to make tiny executive decisions like this and show my schedule who’s really the boss and totally divert from the tasks of the day to take time to do something I’ve really been wanting to do.


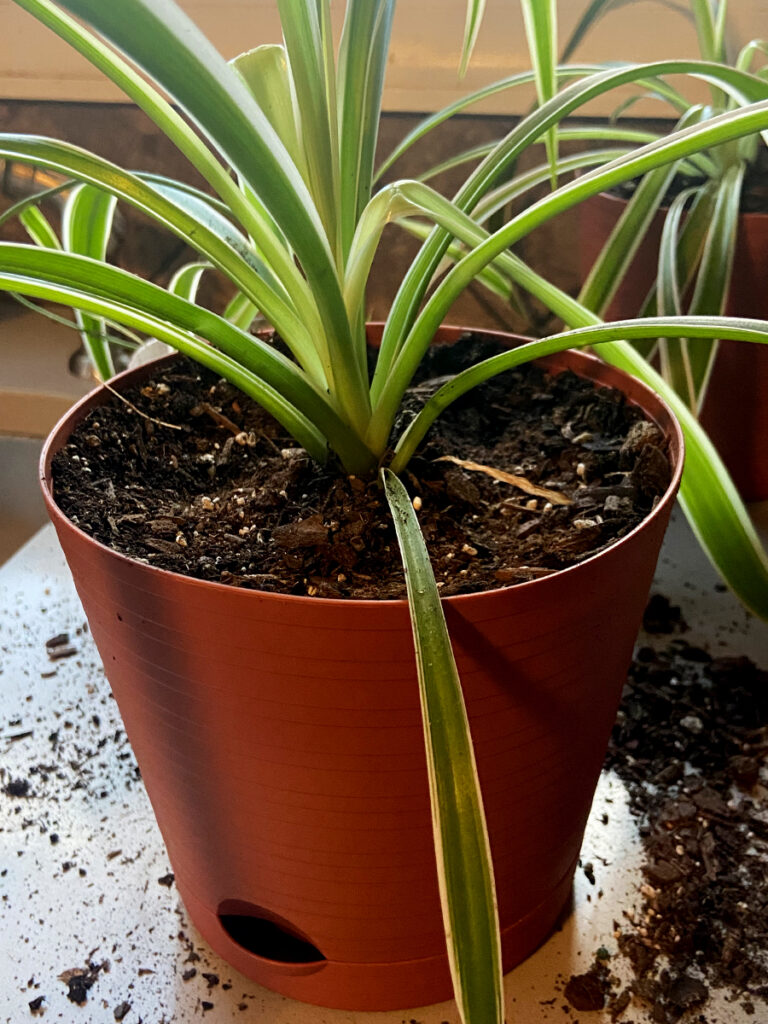
One plant down, one more to go. Then we can work on clipping off the pups and planting them as well.

I’ll pretty much repeat the same steps I did to transplant the first plant: (1) get the container ready and fill with dirt to a height that will allow me to set the base of the plant level with the top of the soil (2) take the plant out of its current container (3) check on the health of the roots (4) place it in its new container and (5) back fill with dirt (6) water thoroughly, as your new soil won’t be as moist as the soil your plant is used to living in.

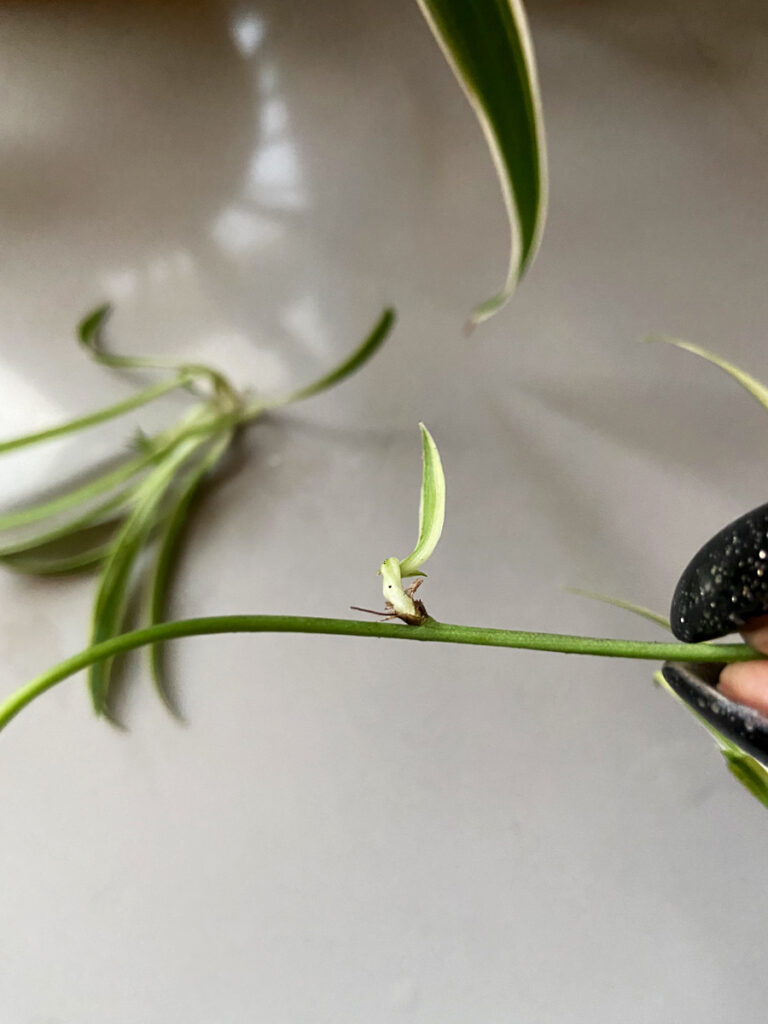
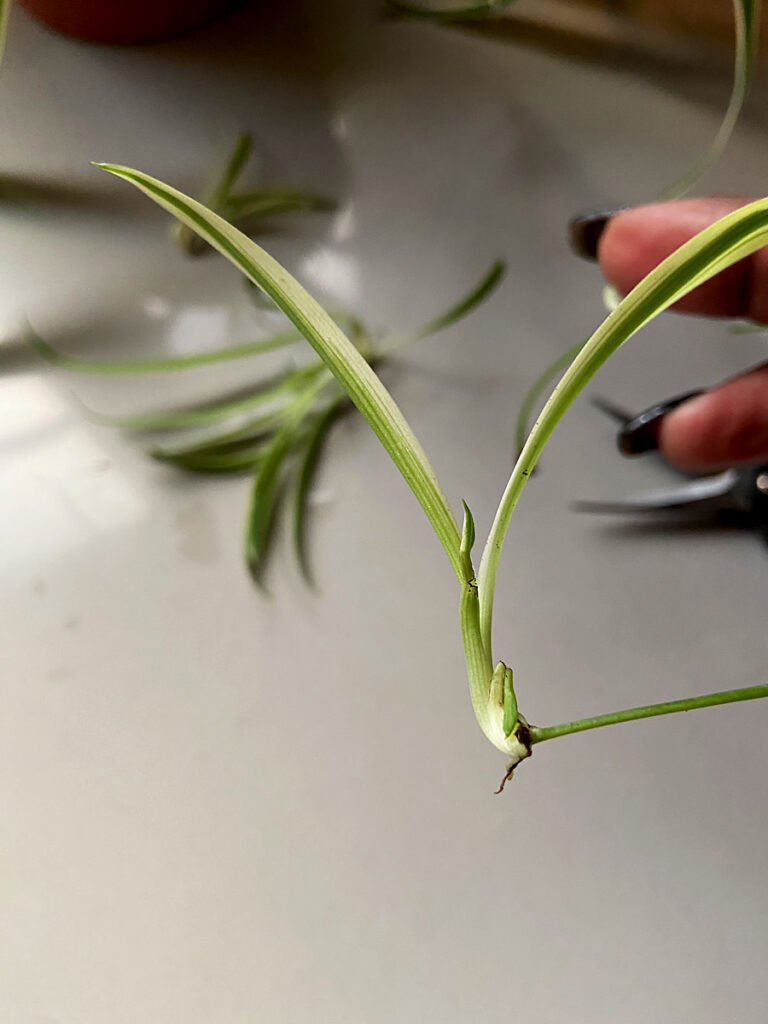
Now it’s time to focus on the pups and I really like the concept of “pups” so I’ve been dying to get to this part. I love to snip the tiny forms and cuddle them before I put them in their pots! LOL First rule of thumb when it comes to snipping: make sure to use CLEAN, SHARP shears. Dull shears are just harmful to plants so never use dull blades. As far as cleaning, I wipe my shears down with alcohol and give them a good soak in water when switching between plants. Some people like to use bleach or vinegar. You don’t want to risk contamination from plant to plant, so no matter what you use, make sure your shears are clean before using it on any plant.


Now let’s get these babies planted and snug in their own homes! We’ll be using the same two pots that we just took the other two out of.
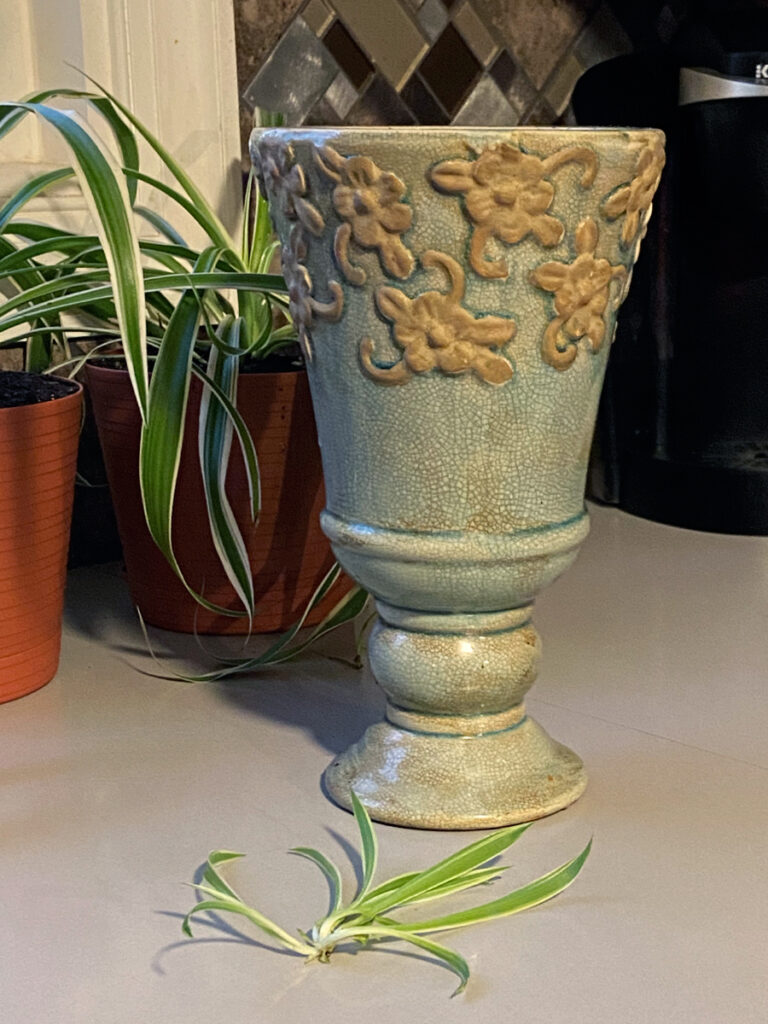
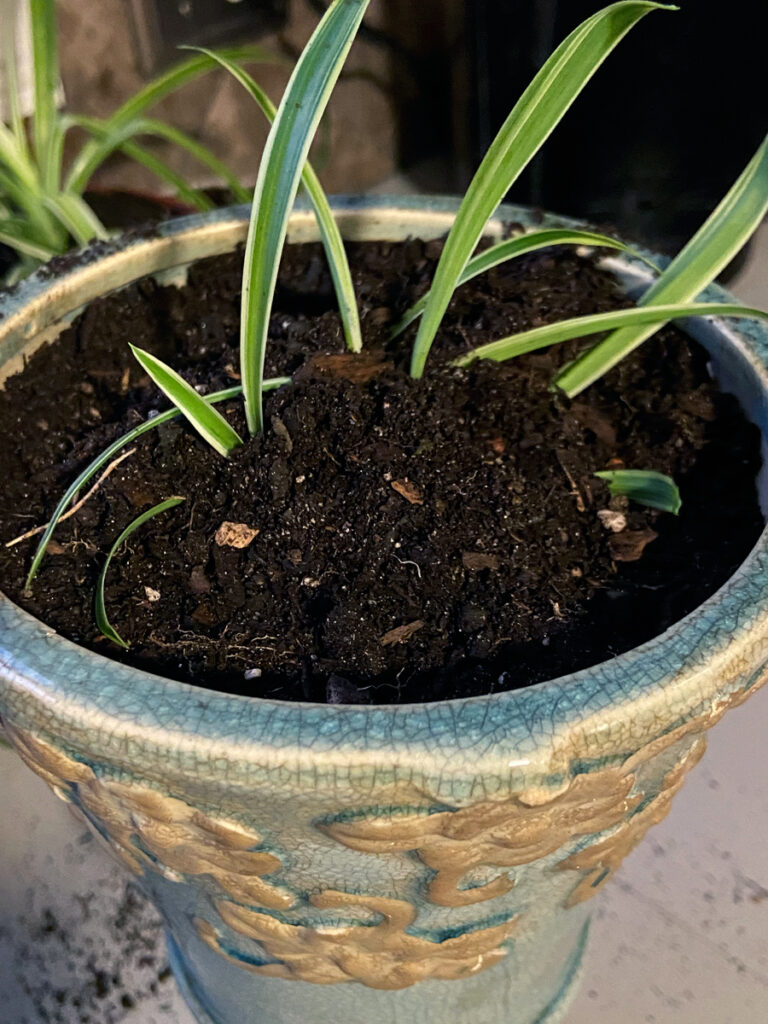
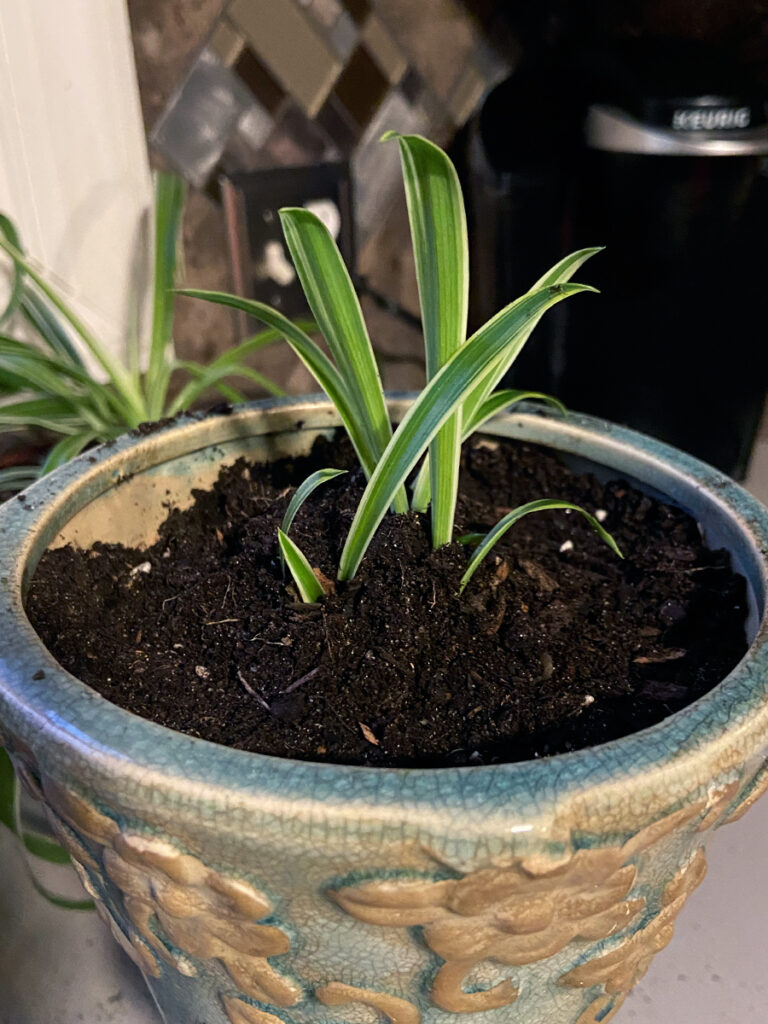
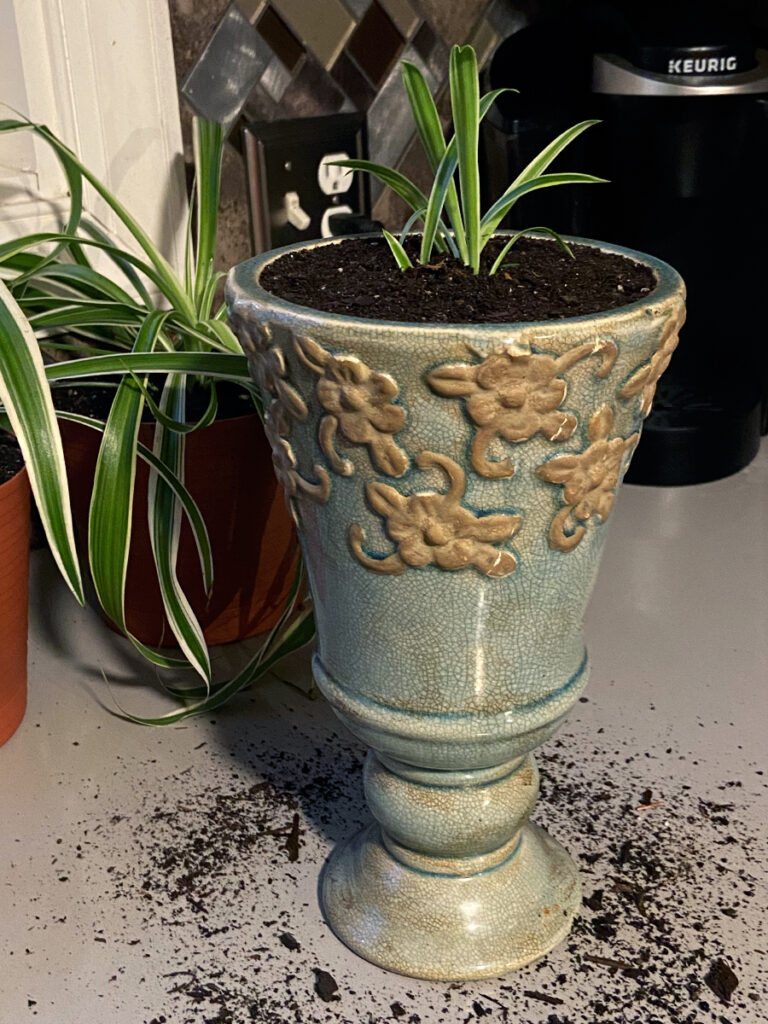
Two of my three pups are in their new homes and I’m on the home stretch now. But before I finish up, what to do with this last one? Uh-oh, I’m feeling a little experimental…so I looked around to see which empty flower pot I had around the house that might make an unusually cute home for a spider plant. This ceramic planter will do just fine! It has a little height so I envision the plant sitting atop and it’s runners hanging down and all around. Plus, It’s old and a little worn and I absolutely love shabby chic, so let’s do this!

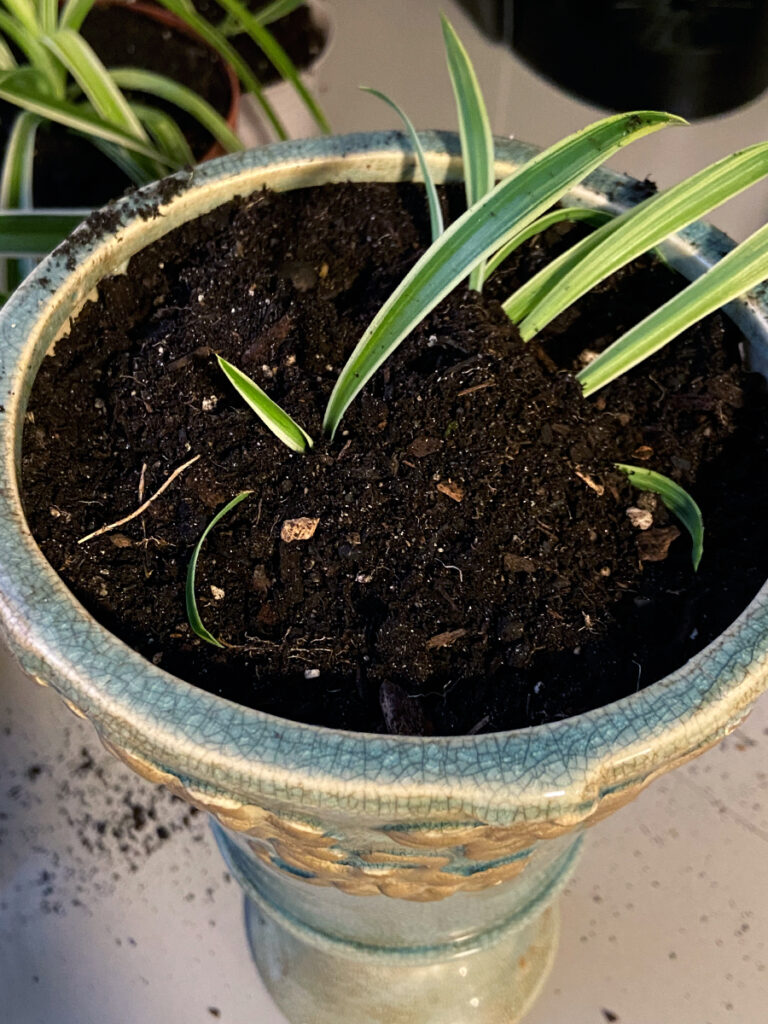
For now, we’re done and here they are: 5 spider plants from one pup, with another one on the way in a few weeks and an unlimited supply in years to come. Only thing to do now is to put them in a place where they will be happy. Spider plants are happy and grow best in indirect sunlight. Too much sunlight and its beautiful white streaks will fade to green. Too little sunlight and the leaves will turn yellow and start to drop. They also like humidity, so be sure to keep that in mind when thinking about where you’ll put them.

The first two were living on a shelf in my kitchen for the past year, so I’m going to place the three pups there since I know they will love it here. The older two, I’m going to see if I can find other spots in the house where they will thrive. I’ve been dying to introduce some plants to the bathroom, so I’ll be starting there. I hope you all enjoyed this propagation journey. For those who read this post last year and have been waiting all this time for the update on the plants, THANKS for hanging in there. Most important, I hope that you were able to learn something from this and you’re now 100% confident that you CAN propagate your Spider Plants too! If you do, I’d love to hear about it, so feel free to share in the comments. See you in the next blog.